Are you looking for a genuine PostX review? Or, unsure of whether to use it or not on your site? If yes, then you’ve arrived at the right place to clear your head.
As a blogger, you need to display your posts beautifully to make an impression in the viewer’s eye. Only then, you’ll be able to get all the goodies from your blog.
Now, to your pleasant surprise, the job is much easier than you think with the right tool or plugin. And the name of it is – PostX. It’s a simple Gutenberg blocks plugin that’s used by over 10K sites online. And it also features a fantastic rating of 4.5 out of 5 stars.
But, how can you thrive your blogging purpose with it, or is it even the best available option? Now, this is what might be running on in your head right now! Through this article, everything will be crystal clear to you. In this detailed review, we’ll be exploring this plugin from every angle.
So, sit in the passenger’s seat while we drive you to this PostX tour!
A. PostX Overview
PostX is a vastly customizable Gutenberg post blocks plugin for WordPress. It’s free of cost, and you can download it from the WordPress.org plugin directory. But you can also opt for its premium version for more enhanced functionality.
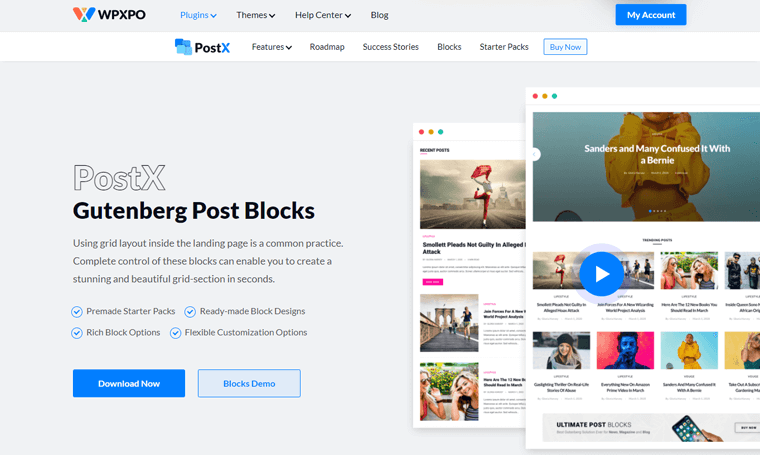
It’s an all-in-one post blocks tool whose job is to add more charm to your blog pages. What it does is adds post blocks on your WordPress block editor to rock the look of your blog.
With it, you can create post grids, post listings, post sliders, post carousels, and much more. And even a non-tech-savvy user can do it with ease.
The next interesting thing is, you can use it to create any type of blog. It’s ideal for news, magazines, food blogs, travel, fashion, and others. The plugin is fully optimized for mobile devices for an enhanced user experience.
Are you a fan of Elementor? PostX has you covered! You can use the PostX designs on your Elementor pages via shortcode. For that, you require Save Templates addon. With the addon, you can create templates using your desired PostX blocks. And then, easily add the predesigned templates to Elementor editor via shortcode.
Best of all, PostX comes up with pre-made starter packs and blocks design allowing you to craft your site in minutes.
Furthermore, it’s compatible with the multilingual plugins like WPML and Loco Translate. And it means you can translate your site into multiple languages with ease.
With that, let’s get deep down into its features.
B. Main Features of PostX
The development team of WPXPO has seriously put up ‘features’ as their top priority. And we’re not saying it! The amount of features the plugin possesses speaks for itself. All right, let’s take a closer look at them then!
1. Readymade Design Library
PostX features a large set of stunning ready-made starter packs and a design library. To be exact in numbers, it includes 16 starter packs (including both free and premium). You can see a live preview of them and even import your likable one with a click.
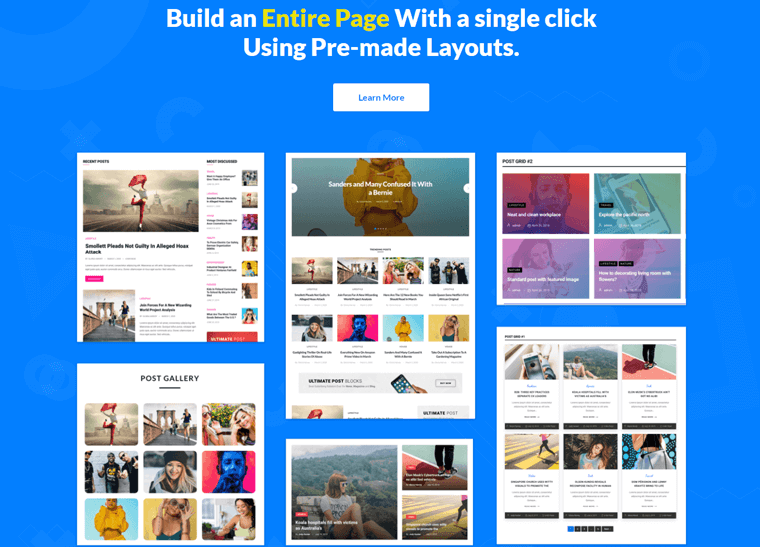
Afterward, you can replace the demo content with yours easily. Plus, it has 90+ ready-made block designs. With it, you can fill your posts and pages with your choice of sections.
To sum up, it makes the blog creation process speedy, and you don’t even need to code at all.
2. Advanced Query Builder
The query builder comes in handy to showcase your posts based on different criteria. Also, not to forget, you can even display it according to a certain taxonomy or post type.
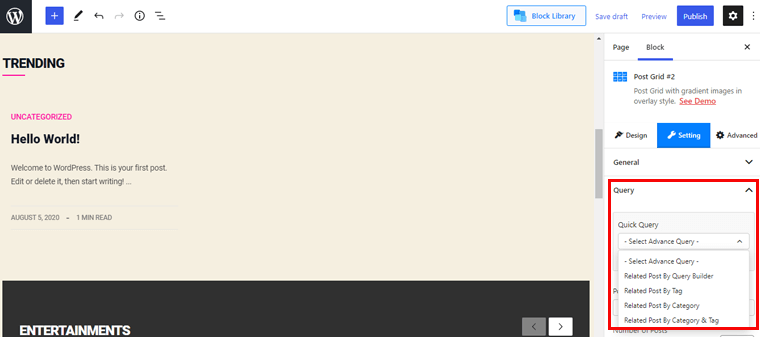
The beauty of this feature is, you don’t have to code to create a query for each block. In the block settings panel, you’ll see available options like number of posts, category, tag, order by, offset, etc.
It’s a robust tool to display your posts based on their popularity, alphabetical order, date, no of comments, etc.
3. Archive Builder
With this Archive Builder feature, you can build and customize any archive page. In other words, it’s a powerful tool for building archive pages without much effort. It lets you choose your archive page type and presents you with all the available options.
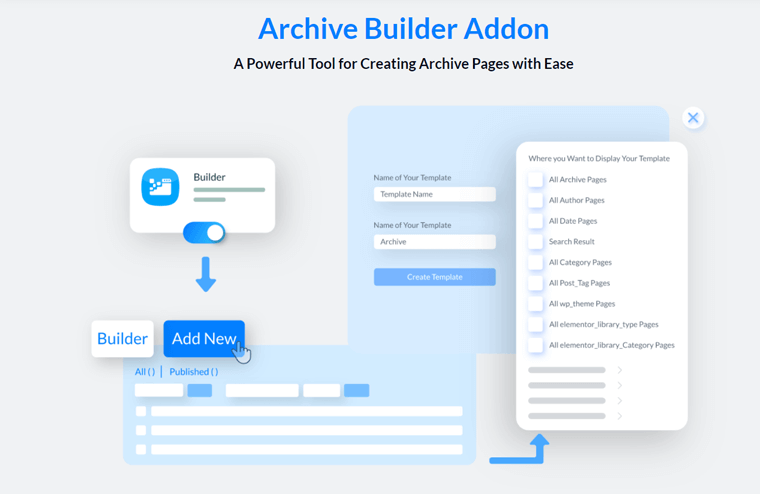
You’ll have an option to showcase the template to a category, date, tags, authors, and other pages. All in all, it makes it possible to build highly customizable pages and play with the templates.
This Archive Builder Addon is a Pro feature, so you need to purchase it to make use of it.
4. Ajax Powered Post Filter
To make your blog posts more engaging, a category or tag filter is the best possible option. With this tool, the posts get filtered according to the categories and tags.
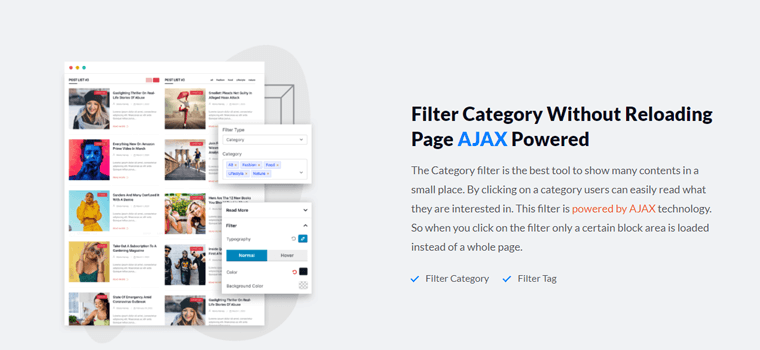
This way, a reader can select their preferred category and easily dive into the content that they love the most.
5. Pagination and Infinite Load More
PostX comes up with 3 kinds of pagination types. One is default pagination, and the rest are a load more and next/previous. Once you see by yourself, you’ll discover these options commonly for post lists and post grids.
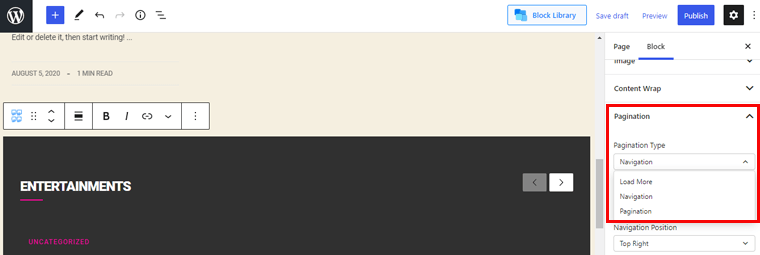
This Gutenberg post block grid has an Ajax-powered system that makes content load without reloading the whole page. A certain part of the block loads by replacing the previous content, and this is how pagination works.
6. Unlimited Customization Option
PostX offers you endless customization as it features a design property for every single element. Basically, you can play around with typography, colors, and adding custom queries to post blocks.
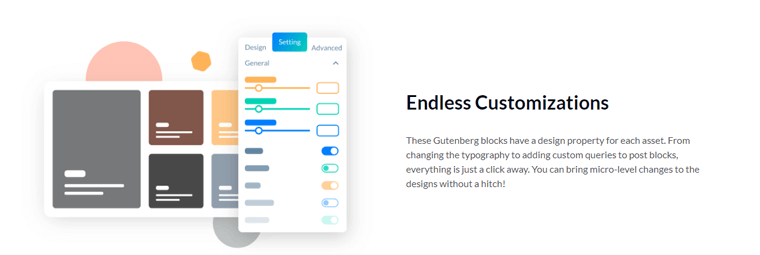
Making all these changes is just a click away from you. To shine your blog even more brightly, it offers a content animation option. It gives you total freedom to animate content by setting the positioning in the way you prefer.
Another crucial thing is the built-in typography controls by which you can add stunning typography to your blog. Plus, it supports Google Fonts as well.
7. Tons of Add-ons at hand
These add-ons come into play when you’ve to extend the functionalities even more. Now, in the free version, you’ll automatically get Elementor Addons, Table of Content, and Saved Templates.
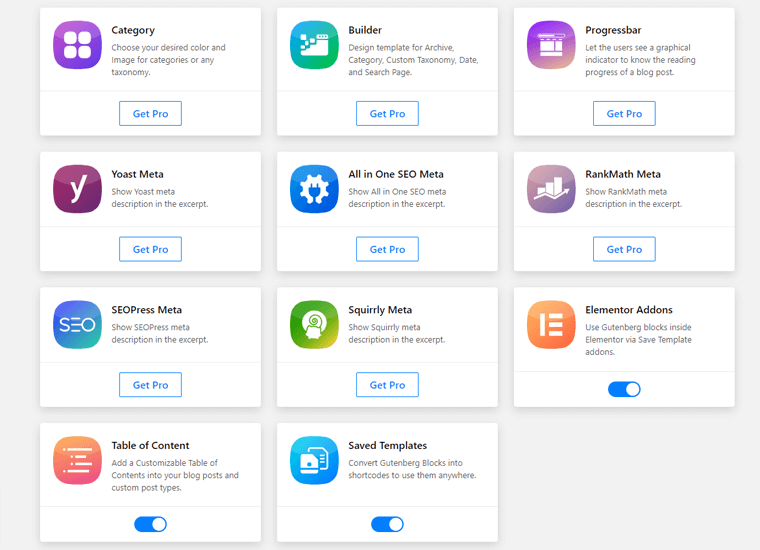
Other 8 available add-ons come as a part of the pro version. A category add-on is for setting the color and image for categories or taxonomy. Whereas, we covered Builder Addon just a while ago.
With Progress Bar, you can measure the progress of your blog posts. And the rest of them is to present the meta description in the excerpt using the best SEO plugins on the market – Yoast, Rank Math, SEOPress, All in One SEO, and Squirrly.
So, these were some of the key features that you’ll get with PostX. The feature list is even bigger here; we’ve covered only some of the highlighted ones.
All right then, let’s move forward to the next section.
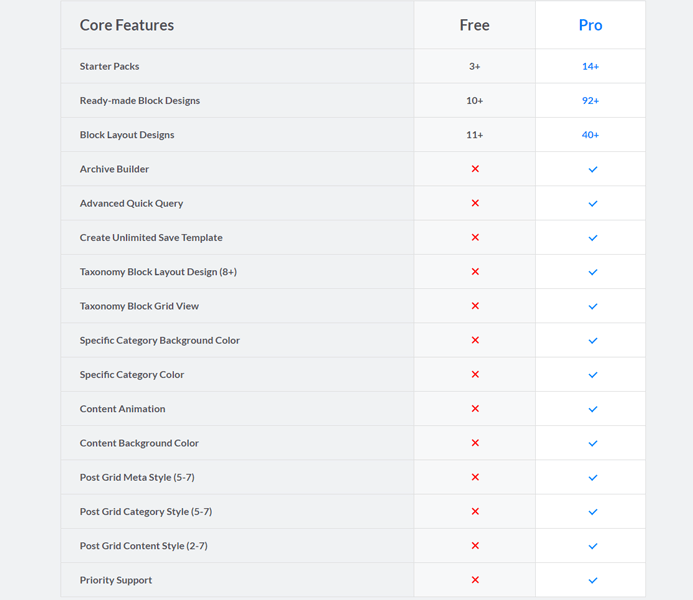
Free vs Pro
Here, we’ll show you all the feature lists of the PostX plugin. So, by looking at it, you’ll have a better idea of what you’ll get from both these versions. And you’ll also be clear about the difference between these two.
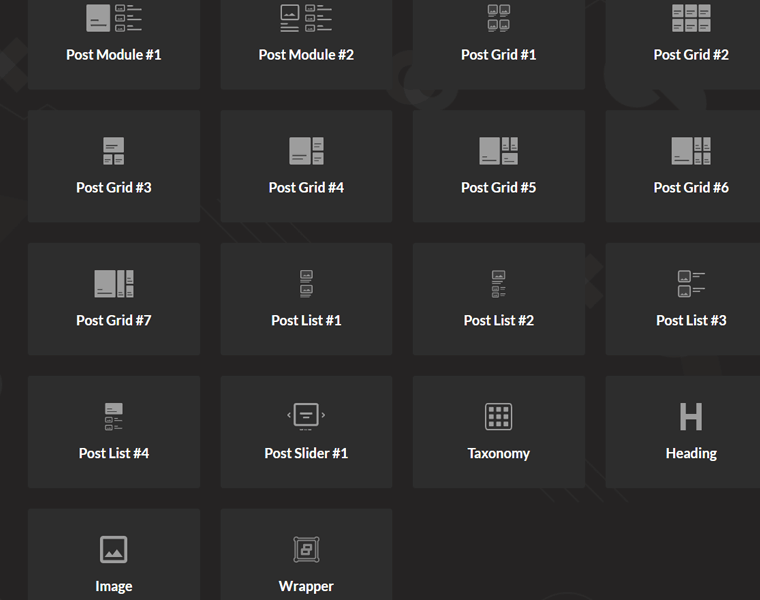
C. Exciting Gutenberg Blocks That You’ll Get With PostX
You’ll be pleased to hear that PostX offers tons of Gutenberg blocks.
With the use of it, you can take your blog game to a whole new level. And that’s why the plugin is a must if blogging is an important aspect of your WordPress site.
Okay, let’s check them out!
i) Table of Contents
The table of contents is a simple block that lets you present the overall structure of your blog posts. With it, your readers will have a better idea of the content straightaway at the beginning itself.
If you want your page content to be more organized, then you should use this block.
ii) Post Module
Post Module is a great way to showcase your blog posts. There are 2 different ways you can add this block to your site. It covers up 2 columns and 1 row overall, and in this order, your blog posts get displayed.
From that, a single blog post occupies a column, while on the other side lies multiple posts. Most importantly, both these blocks include tons of layout designs.
iii) Post Grid
In the Post Grid block, your posts get displayed in the shape of a rectangular grid. Now, the fascinating thing is, you have the freedom to choose from 7 different grid blocks layout.
Wait, it doesn’t stop here! Each of these blocks comes with a bulk of grid design styles which you can import with a single click
iv) Post List
The possibilities it offers are endless when it comes to attractively showcasing your posts. It offers 4 different blocks to present your posts in a list format.
Additionally, each block offers multiple styles of design layout. This way, you can showcase your blogs consisting of multiple posts. And that all sit in a single row.
v) Post Slider
Sliders are way more engaging and visually appealing than any other element. For a better understanding of what your post is about, sliders play a key role. With it, you can rock the look of your blog.
To be more specific, you can showcase your posts in a slider with a featured background image. Also, it offers a lot of controls like you can set a time limit, multiple styles of next/previous arrows.
vi) Taxonomy
If you want to structurize your content based on categories and tags, then taxonomy is of great use. It comes up with 14 different layout designs, and you can import your preferred one with ease.
From the settings panel, you can tweak almost every element. Like colors, headings, animation, title, and many more.
vii) Heading
Just with the name, you might’ve guessed it. It allows you to build a stunning heading or title block on your site. You will get a total amount of 20 stunning design styles to choose from.
You can simply add your heading title and make use of the settings panel to change the way it looks. It’s way better than the default heading block that Gutenberg offers.
viii) Image
Adding images to beautify your blog is an easy job with the help of the image block that PostX offers. Also, you can make use of the animation option to shine your images even further.
Furthermore, you’ll get multiple design options, and you can choose the style you like. Similarly, you can fine-tune your images like image height, width, margin, etc from the settings panel.
ix) Wrapper
Wrapper block lets you build a container for another block. In detail, you can add a background image or color to many blocks at a time. In the free version, you’ll get a limited amount of options. So, to do a lot more, you can opt for its pro version.
D. Getting Started with PostX
Here, in this section, we’ll see the installation and setup process of the PostX plugin. Following this guide, you can use the plugin on your own, without the help of others. So, come along with us.
I. Installing the PostX Plugin
Just to let you know, the installation procedure is pretty straightforward for both versions. First of all, we’ll show you how to install the free one. Afterward, we’ll move to the paid version. So, follow these steps rigorously.
The first thing is, you’ve to log in to your WordPress site. After logging in, you’ll reach your WordPress dashboard, from where we’ll install the plugin.
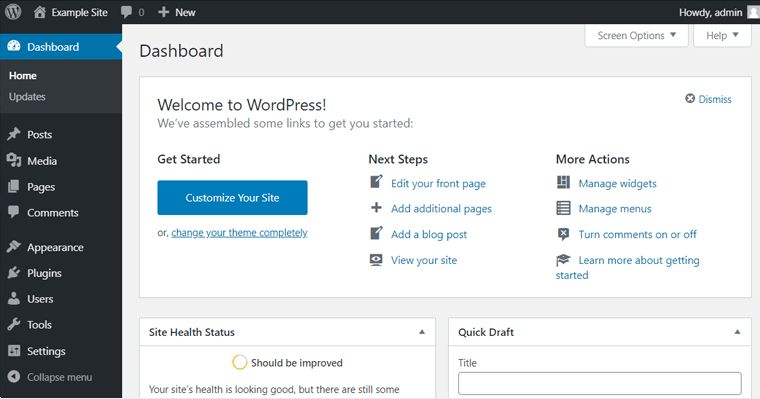
The moment you reach there, navigate to Plugins > Add New.
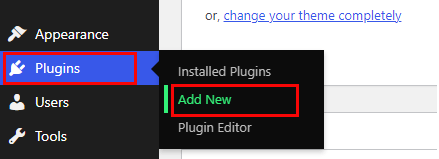
Now, you’ll be redirected to another page.
From there, search for PostX, once it appears, click on the Install button.
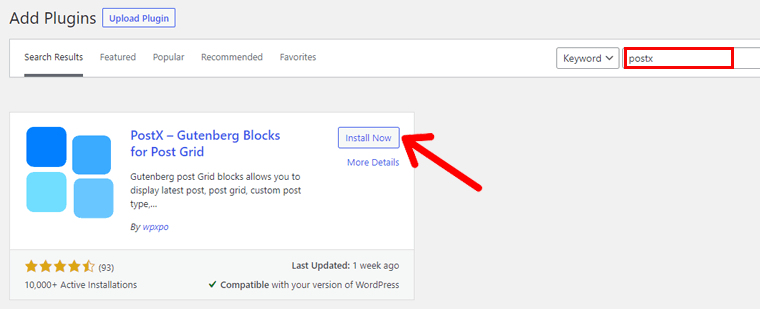
Once it gets installed, click on the Activate button.
There you go! The plugin is successfully activated on your WordPress site.
So, that was the installation of the free version of the PostX plugin.
II. Installing the PostX Pro Plugin
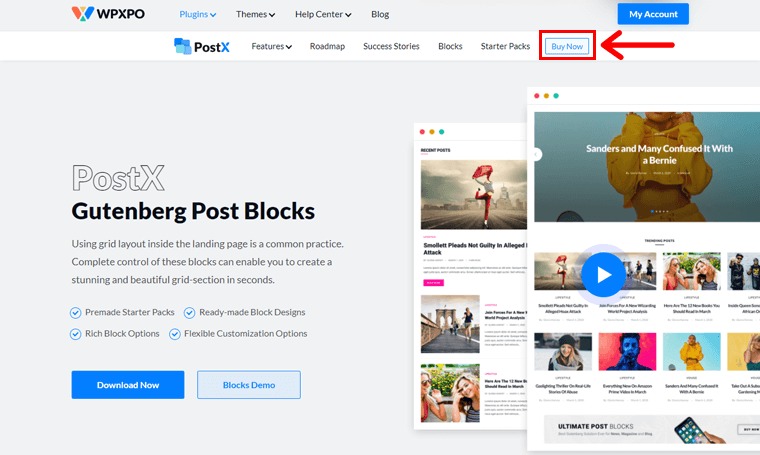
First and foremost, to purchase PostX Pro, navigate to WPXPO’s landing page.
Now, click on the Buy Now button. Afterward, you’ll be redirected to the PostX pricing page.
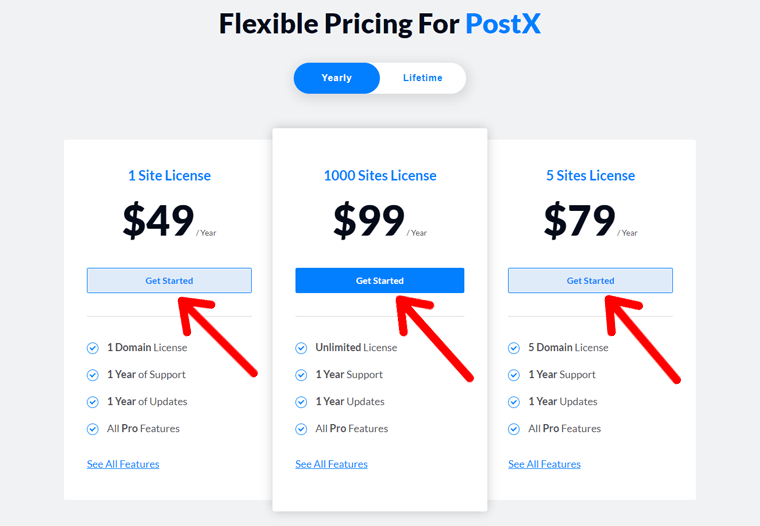
As you can see, there are 3 pricing options available, choose one and click on the Get Started button.
With that, a new checkout page will open.
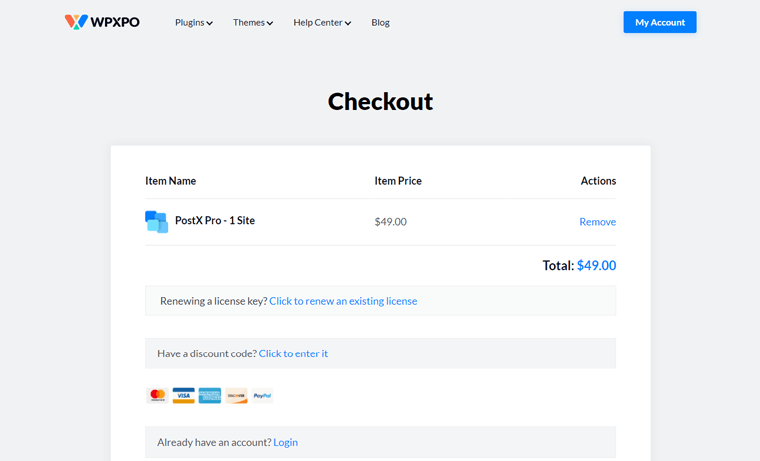
Now, what you have to do is enter all the required information and create an account. You can even insert a discount code if you have any.
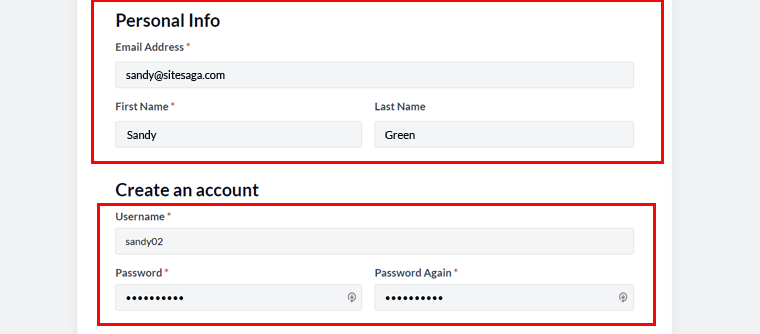
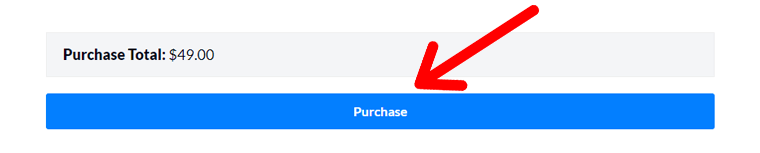
Once you fill up all the information, click on the Purchase button, which is right at the end.
You can even get the download link in your email. But, leave that. We’ll show you a shorter way than that.
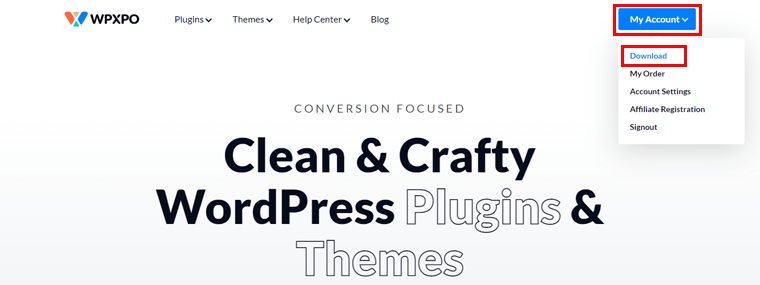
Go to My Account > Download. Afterward, click on the link that has appeared below. It’ll download the file on your local PC.

Next, to install the plugin, head on to your WordPress dashboard. Go to Plugins > Add New.
From there, click on Upload Plugin, and afterward, click on Choose File. There you’ve to select the zip file of the plugin which was downloaded just a while ago.
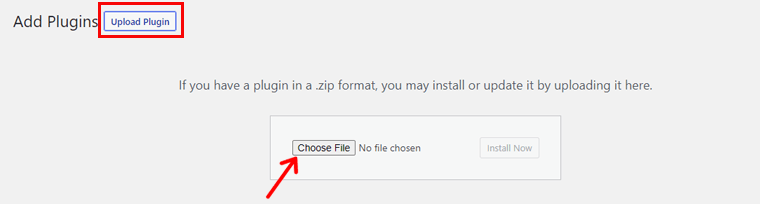
And lastly, install and activate it.
III. Activating PostX Pro
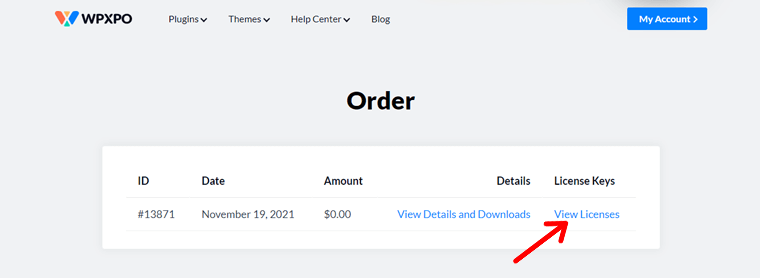
Wait! It isn’t done yet. Now, you’ve to activate its license to use it. Your license key is situated in your WPXPO account. Thereby, go there and navigate to My Account > My Order.

And next click on View Licenses.
Then, you’ll see a key icon there, click on it to check your license key. Once you see it, just select the key and copy it.
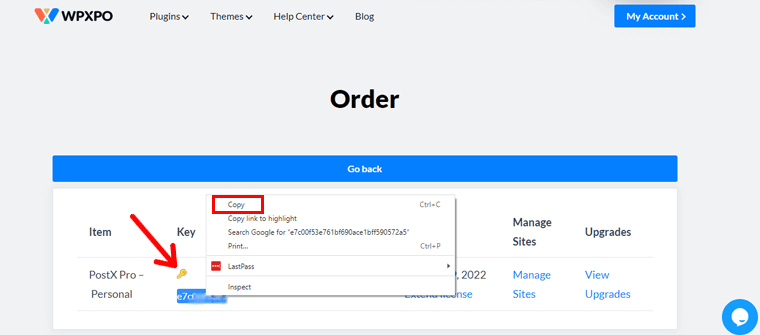
Next, navigate to PostX > License on your WordPress dashboard. Now, you’ve to paste the copied license key right there.
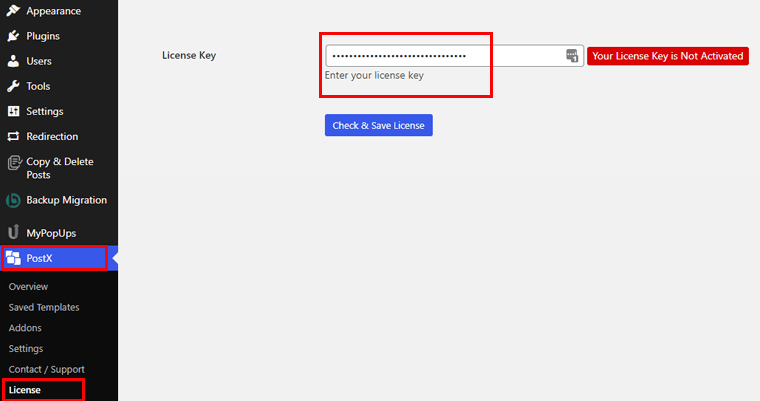
Afterward, you’ve to click on Check and Save License.
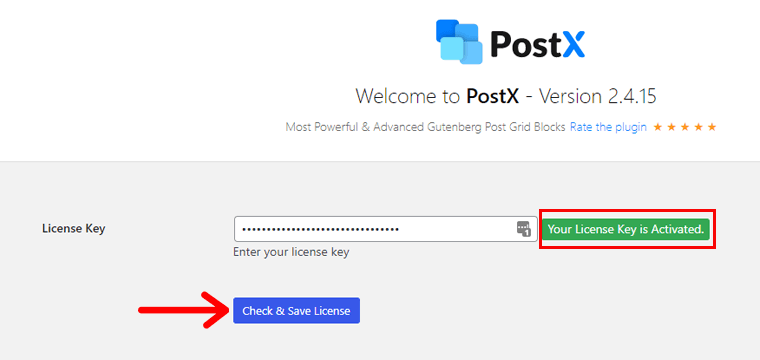
And that’ll do the job for you! Yes, now your license key and PostX Pro have been activated successfully.
IV. Setting Up the PostX Plugin
Below the PostX section, you’ll see a couple of more sub-menus. In there, you’ll discover a Settings option.
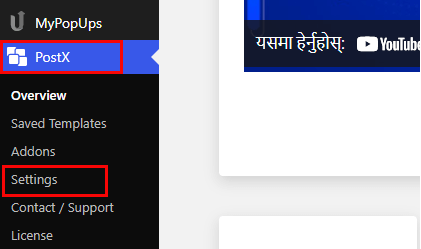
Head in there, and inside you’ll get options for General Settings and Blocks.
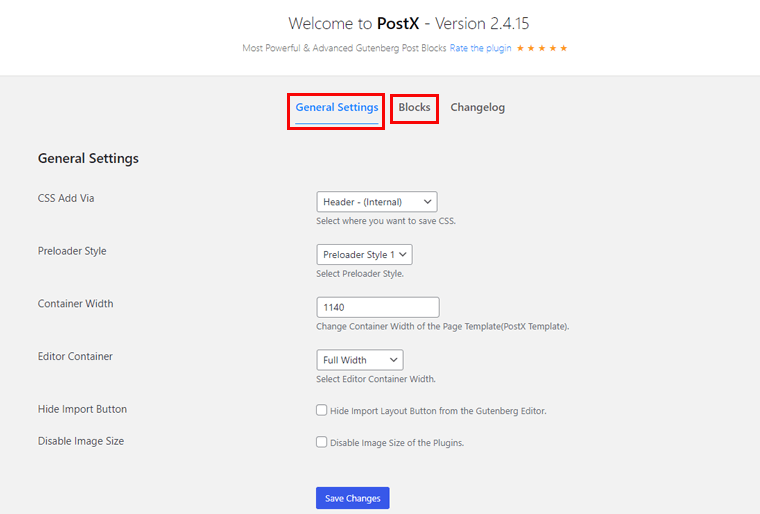
From there, you can tweak things or so in terms of the needs of your site. Lastly, you’ve to click on the Save Changes button to save the changes if you’ve made any.
E. Building a New Blog Layout Page using PostX
All right then, the time has come to check out how you can create a blog page using PostX. And we’re going to do it with the help of the starter pack and block design of PostX.
It’s best if you first create and publish your blog posts based on different categories. This way, you’ll grasp the concept of this plugin far better. Now, follow along with us as we show you the path step by step.
Step 1: Create a New Page
First and foremost, we’ve to create a new page for the site. To do that, navigate to Pages > Add New in your WordPress dashboard.

With that, you’ll be redirected to the WordPress native Gutenberg editor.
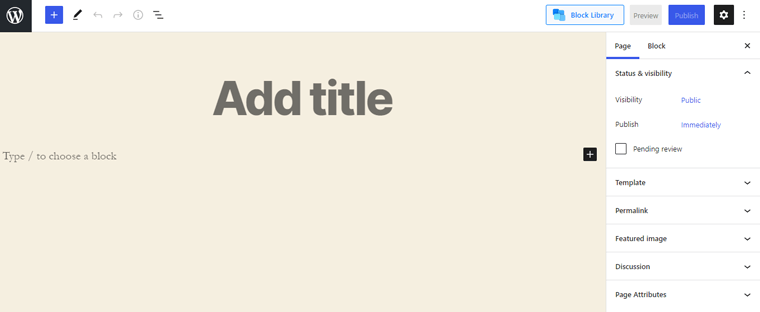
From there, you can include the title of the page like ‘Blog’. See, you’ve successfully created a new blog page.
Step 2: Add a Starter Pack Template
Now, let’s continue from where we left. On the right side, you’ll see a Page option. Inside of it, there’s a Template menu on the first.
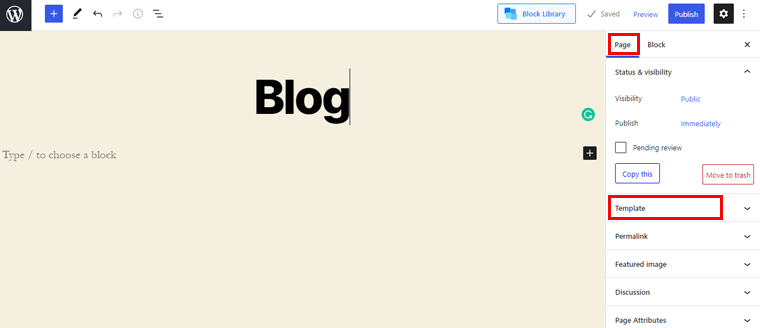
You’ve to click on it and select ‘PostX Template’.
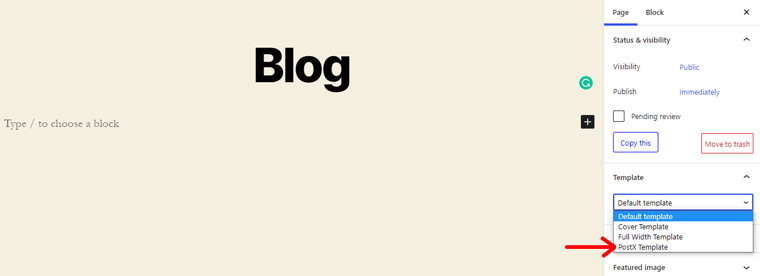
Once you do that, you’ll see a Block Library button on the top right of the navbar, click on it.

That opens up a library where you’ll discover the starter packs and ready-made block designs.
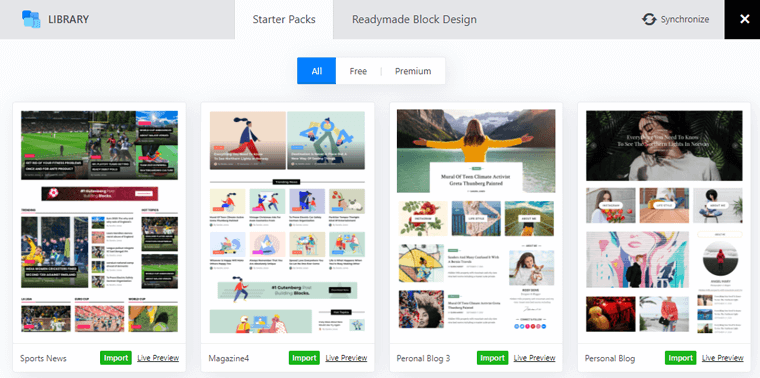
Every single one of them comes up in the free or premium option. Now, we’ll be focusing only on the Starter Packs section. You are free to choose the one you like for your blog page.
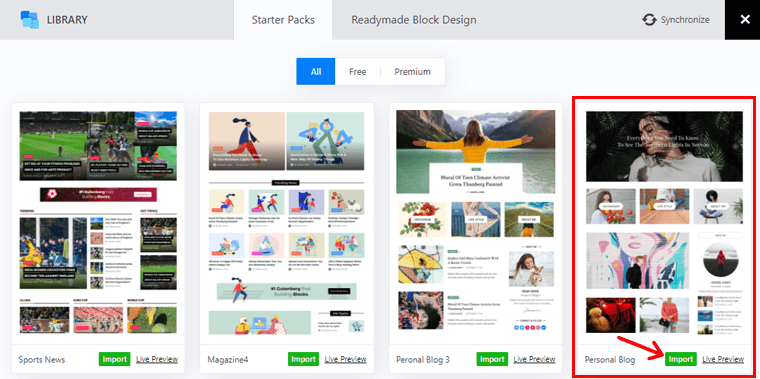
You can even see the live preview of any given template by simply clicking on the Live Preview button. The moment you decide on one for your blog, click on the Import button.
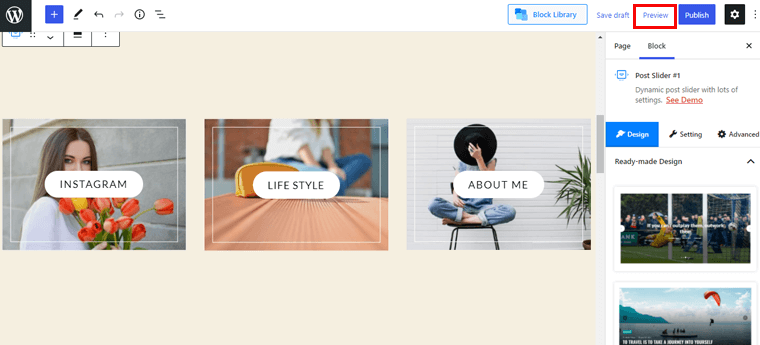
After waiting for a few seconds, your chosen template appears on the editor. To have a glimpse of how the page looks, you can click on the Preview option.
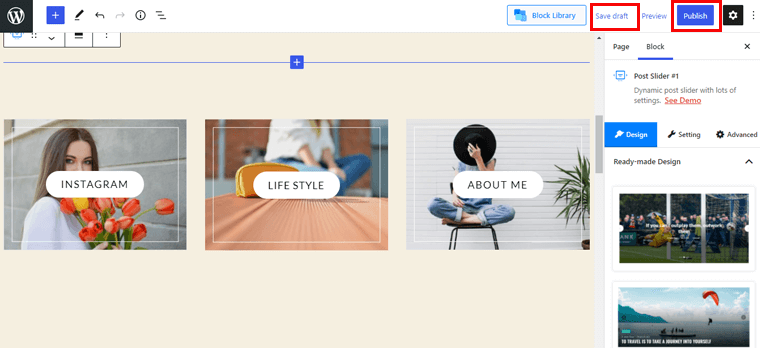
There you go, now you can save your work till this moment by clicking on the Save draft option. And you can now finally publish the page with a click on the Publish button.
Insight into the User Interface
Phew! That was quite a lot of work, right? Don’t worry, gone are those tough tasks. Now, let’s dig deep into this blog page that we’ve created just a while ago. If you look closely, it forms two sections.
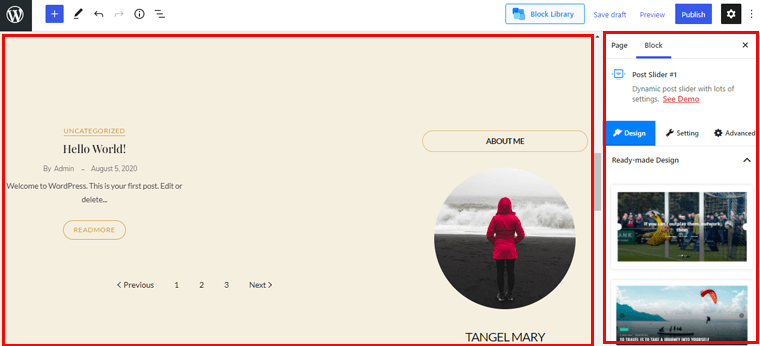
On the left-hand side, you’ll have a preview of the page. Just a few moments ago, we’ve successfully added the template.
After selecting a block, you’ll get options to change block style, change alignment, etc. Similarly to customize, you’ll see options and settings on the right-hand side of the Gutenberg editor.
Earlier, we inserted a template, similarly, you can add ready-made section blocks. The flexibility is enormous, you can add a new section, remove a block, or pretty much anything.
On the right-hand side, you’ll discover the Block section. At the top sits the block style that you’ve imported with the demo button. Just below includes the 3 options, design, setting, and advanced.
Let’s explore them.
I) Design
Design options consist of 2 different elements.
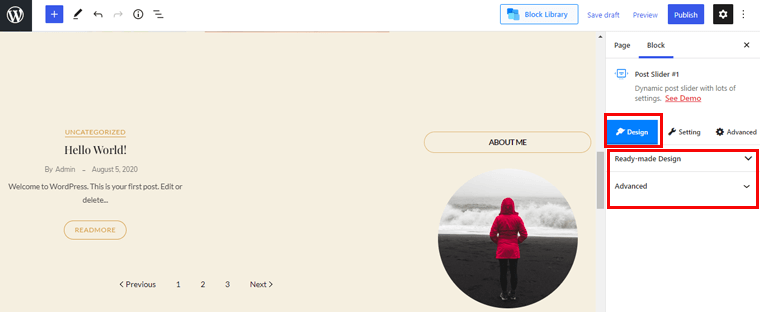
- Ready-made Design: This section recommends new block designs.
- Advanced: It allows you to include additional CSS classes in the block design.
II) Settings
In this part, you’ll see bulks of settings for you to customize each portion of your post block. And the settings vary according to the type of block you choose. So, here are some of those:
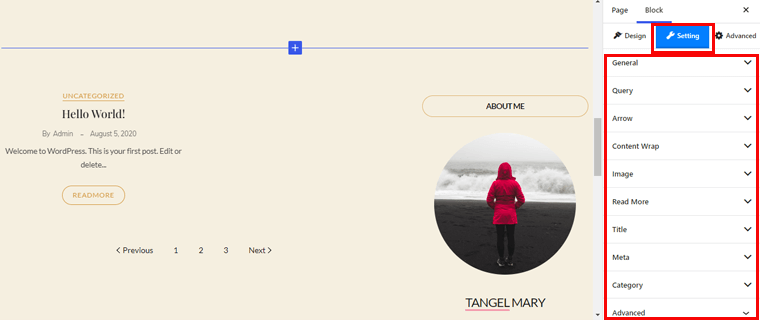
- General: It lets you show or hide various contents of the block. Moreover, you’ll have control over alignment, arrows, category, etc.
- Query: From here, you can use the query to display your content whether on post types or taxonomy.
- Arrow: You can set arrow style, height, width, color, border, etc.
- Content Wrap: Content Wrap includes options such as padding, background color, border, border radius, etc.
- Image: You can enable or disable lazy loading and srcset. Also, you’ll have options to control overlay, grayscale, etc.
- Dot: It allows you to set space, width, height, background color, border, etc.
- Title: From here, you can manage the title tag, color, typography, max length, etc.
- Meta: You can set meta position, style, separator, spacing, and many more.
- Category: This option allows you to manage category style, color, background color, padding, etc.
III) Advanced
There are a few advanced settings that you’ll see here. And the settings vary according to the design you pick. So, here are those:
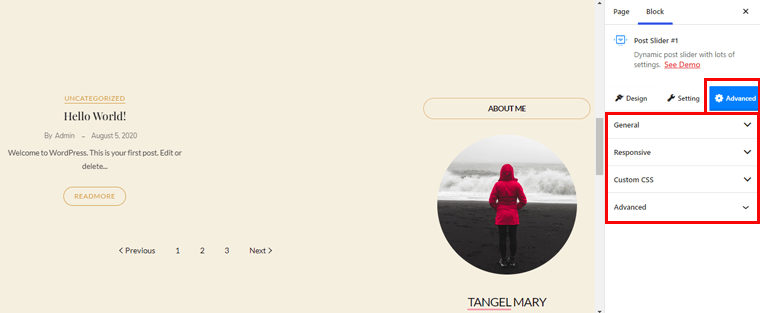
- General: From here, you can manage background color, margin, padding, border radius, etc.
- Responsive: You can hide blocks on a large display, desktop, tablet, and mobile.
- Custom CSS: Includes a text area for adding your own custom CSS.
- Advanced: You can add additional CSS classes with ease right here.
F. PostX Support
Support should be equally prioritized alongside features and design. PostX is an easy-to-use plugin, but that doesn’t mean you won’t face any obstacles while using it. If you get stuck at some stage, then the support team is there for the rescue.
The landing page of PostX features a Help Center section. There you can join the Facebook group for all the tips and tricks related to the plugin. Moreover, it also includes documentation and video tutorials for the detailed functionality and guidelines.
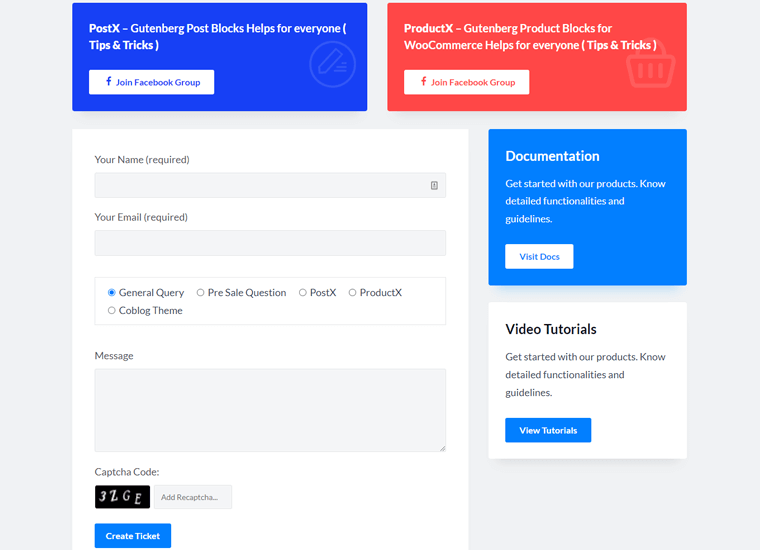
Premium users can get instant support from the team and developers. You can ask your questions or share your message by filling the contact form. For more information, you can visit their contact page.
G. PostX Pricing
All right then, the time has come to reveal its pricing. Till now, you might’ve known that PostX comes in both the free and paid versions. To be honest, the free version is more than enough for you to build a professional-looking blog.
However, if money is no problem for you, then go after the premium version. You can simply download the core version from the WordPress.org plugin directory.
And to your pleasant surprise, the premium version isn’t that costly either. As you can see, it comes in different flexible pricing options.

- 1 Site License: $49/Year (1 domain license, 1 year of support, 1 year of updates, All pro features)
- 1000 Sites License: $99/Year (Unlimited license, 1 year of support, 1 year of updates, All pro features)
- 5 Sites License: $79/Year (5 domain licenses, 1 year of support, 1 year of updates, All pro features)
Didn’t love the extensions even after using them? Or felt it didn’t live up to your expectations? Don’t worry, they will refund your money fully. Basically, it offers a no-risk money-back guarantee for 14 days.
H. Positives and Negatives of PostX
We know the fact that nothing is perfect! Till now, we’ve only explored the good side of the PostX plugin. Here, we’ll be looking at both sides of it. Let’s check them out.
Positives of PostX plugin
- Rich block options.
- Elementor and Shortcode support.
- Excellent customer support.
- Tons of customization options.
- Frequent updates from time to time.
- Seamlessly integrates with any Gutenberg compatible theme.
- Compatible with the WPML plugin for translations.
Negatives of PostX plugin
- Included features aren’t too beginner-friendly.
- Only a few design templates and starter packs are made available for free users.
I. PostX Alternatives and Competitors
PostX is undoubtedly a great plugin, but everyone may not like it. In such a case, you need to look for other options, and in fact, there are many available. So, keep an eye on them as well.
1. Ultimate Blocks
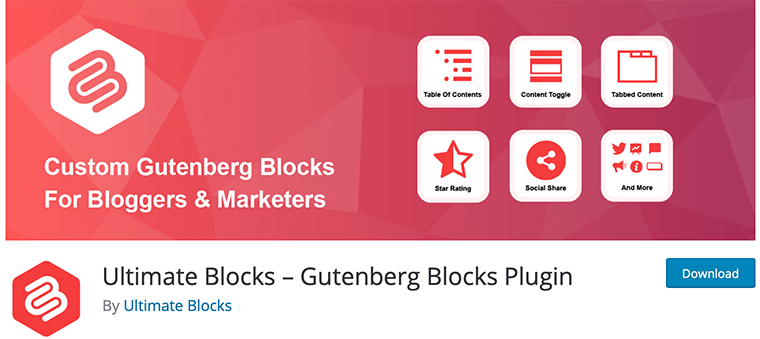
Ultimate Blocks is a Gutenberg blocks plugin that’s well suited for bloggers and marketers. It lets you craft engaging content with Gutenberg in an easy way. Moreover, it allows site visitors to filter the content according to the categories.
And the best part is it comes with over 18 stunning blocks to fulfill all your needs. Besides that, Ultimate Blocks is optimized for speed and SEO(Search Engine Optimization).
2. Otter Blocks
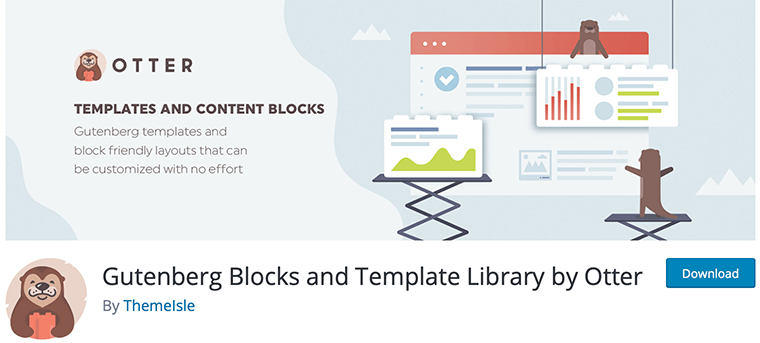
Created by ThemeIsle, Otter offers a wide range of Gutenberg blocks and Template libraries. With the use of it, you can create stunning posts and pages. Another amazing thing is it’s lightweight, so your site will load blazingly fast.
Also, using its built-in responsive settings, you can build designs that look good on any device. Most importantly, every single block has customization options to change the way your site looks.
3. Genesis Blocks
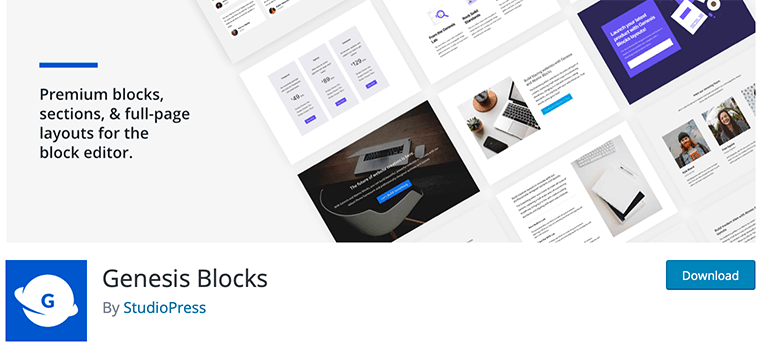
Genesis Blocks is another well-reputed Gutenberg blocks plugin. Like other best WordPress plugins, it also features tons of blocks for the quick creation of your desired site. With the premade sections and full-page layouts, your content will shine even more.
In addition to that, the plugin has AMP(Accelerated Mobile Pages) support for a fast mobile browsing experience. Now, if you want more, you can switch to Genesis Pro for unlimited possibilities. Plus, it works with every theme on the market.
J. Is it the Best WordPress Post Grid Plugin? – Our Verdict
Now, we aren’t going to hold you for too long. Your wait ends right here, as now we’re going to reveal the answer to the most awaited question.
But before that, we want to share what we liked about PostX and what can be better.
What We Like about PostX?
- Includes tons of stunning ready-made starter packs and design library.
- The amount of Gutenberg blocks it offers is pretty good.
- SEO friendly – offers deep integration with popular SEO plugins like Yoast, Rank Math, etc.
- Full freedom to animate the content by managing the positioning.
- Options to show/hide content on specific devices.
- Pricing options is on the reach of smaller businesses too.
What Can Be Better on PostX?
- Should feature more starter packs and templates for free users.
- Some features and functionalities is too techy for beginners.
- Documentation section can be extended even further.
So, is it the best WordPress post grid plugin available on the market?
We say yes because the amount of features you’ll get even in the free version is way too awesome. As compared to other plugins, you’ll have a multitude of features to stand apart from your competitors.
Other than that, it’s pretty much rock solid, and premium users don’t even have to worry about a single thing. It’s a complete game-changer!
Conclusion
And that’s a wrap! So, in this article, we’ve reviewed the PostX plugin. We hope you liked it!
As you’ve just seen, PostX is rich in features even if you use the free version of it. Most importantly, it helps to transform your blog posts so that it catches the attention. This way, your audience will eventually come back time and again to read more content.
So, without any doubt, you should have this plugin as a must. Only then, all of the blogging needs that you dream of will come true.
Check out the comparison between Webflow vs WordPress. Also, look out for the best blog hosting services.
If you liked it, then follow us on Facebook and Twitter for similar types of content.
Still, do you’ve any questions? Then leave a comment below.