
Are you wondering how to add fonts to WordPress without using a plugin? If yes, then stay right here!
Whether you’re running a blog, an eCommerce store, or a portfolio site, choosing the right fonts can elevate your brand and captivate your audience.
But here’s the twist: You don’t need a fancy plugin to add custom fonts to your WordPress site.
In this article, we’ll walk on a font-tastic journey, exploring how to infuse your website with the font of your choice. That too without the hassle of a plugin!
Now, let’s dig in!
Video Tutorial – How to Add Fonts to WordPress Without Using a Plugin
Would you prefer to watch a video tutorial instead? We have a complete video tutorial attached below on adding custom fonts to your WordPress website. Watch it now!
Nevertheless, keep reading for a detailed guide to the process!
Significance of Using Custom Fonts on Your WordPress Site
In the vast landscape of web design, fonts play a vital role. They’re not just letters and characters. Rather, they’re the voice of your website, the mood-setters, and the silent storytellers.
Custom fonts play a crucial role in shaping your WordPress website’s aesthetics, readability, and overall user experience.
Let’s delve into their significance:
- Enhanced Brand Identity: Custom fonts make your brand stand out, reinforcing its unique personality and making it more memorable to visitors.
- Improved Readability: Choosing the right font improves how easily visitors can read your content. Further, this keeps them engaged and interested in exploring your site.
- Expressing Personality: Fonts express feelings and style, letting you show off your brand’s character in every word. And making your site feel more relatable.
- Attention-Grabbing Headers: Bold and creative fonts for headers and titles capture visitors’ attention. Further, making them curious to see what’s next on your site.
- Establishing Hierarchy: Different font styles help organize your content, clarifying what’s important. And guiding visitors through your site smoothly.
- Consistency and Professionalism: Using the same fonts throughout your site gives it a polished and professional look. This avoids confusion and makes it easier for visitors to navigate.
In summary, custom fonts aren’t mere design elements, they’re powerful tools that shape your site’s perception, engagement, and overall success. So choose wisely, and let your typography tell your story!
Did you come across a website with beautiful typography? Then, check our article on how to find what font a website is using to know more.
How to Add Fonts to WordPress? (Custom Fonts without Plugin)
Let’s dive into the steps for adding custom fonts without relying on plugins. Buckle up, font enthusiasts!
Step 1: Ensure Your Website is Upgraded to WordPress 6.5 Version
Did you know that the recently released WordPress 6.5 version introduces a host of exciting new features and enhancements?

One standout feature is its innovative integrated font library. This grants access to an extensive array of Google Fonts. Along with the option to directly upload custom fonts within the block editor.
This eliminates the need for the third-party plugins. And helps you explore diverse fonts to precisely align with your website’s visual style.
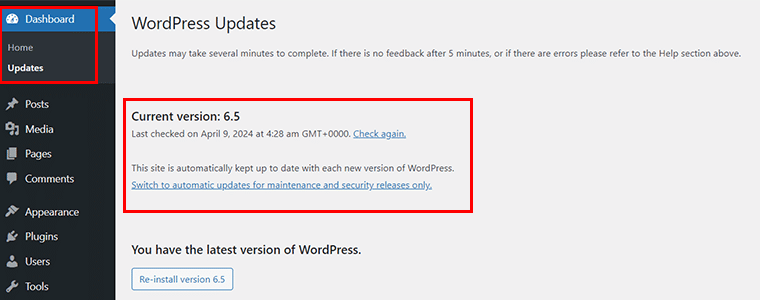
So, the first step is to ensure your website is upgraded to the WordPress 6.5 version. If not, then go to ‘Dashboard > Updates’ and update it right away.
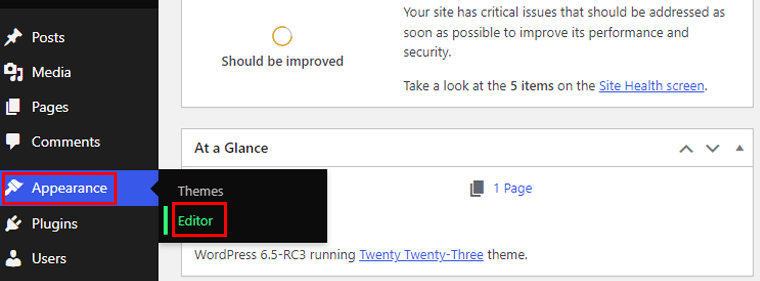
Step 2: Go to Appearance >Styles > Typography Tab
Now, go to the ‘Appearance > Editor’ option.
Once you’re on the site editor UI, navigate to the ‘Styles’ menu.
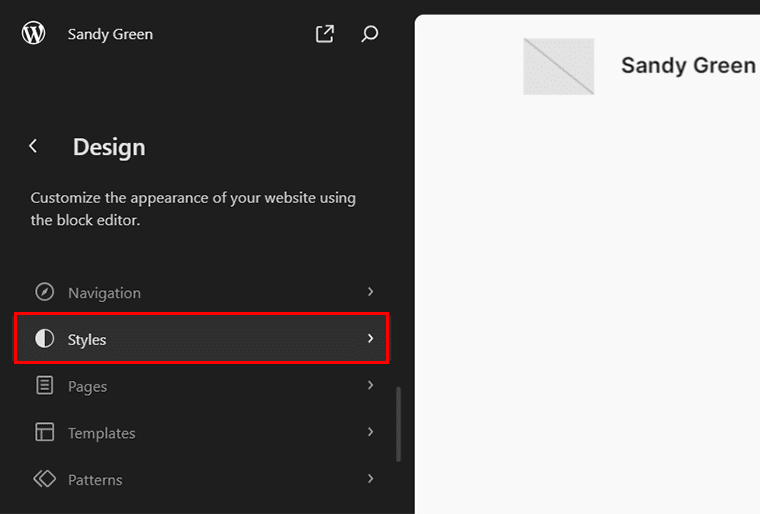
Then, within the style menu, click on the ‘Pen’ icon which represents the ‘Edit Styles’ option.
Now, on the right, you’ll see the ‘Typography’ option, click on it.
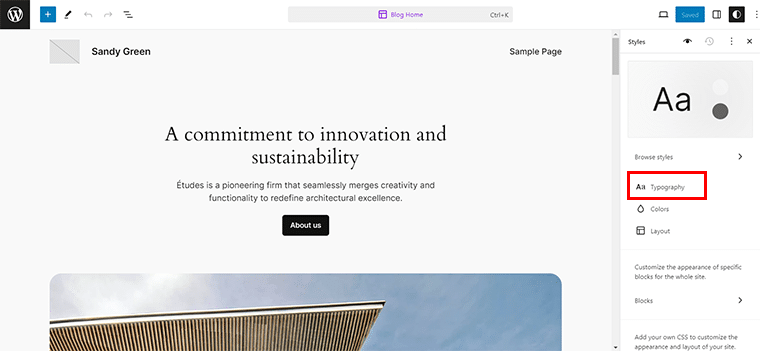
Next, click on the ‘Manage Fonts’ icon located beside the Font menu.
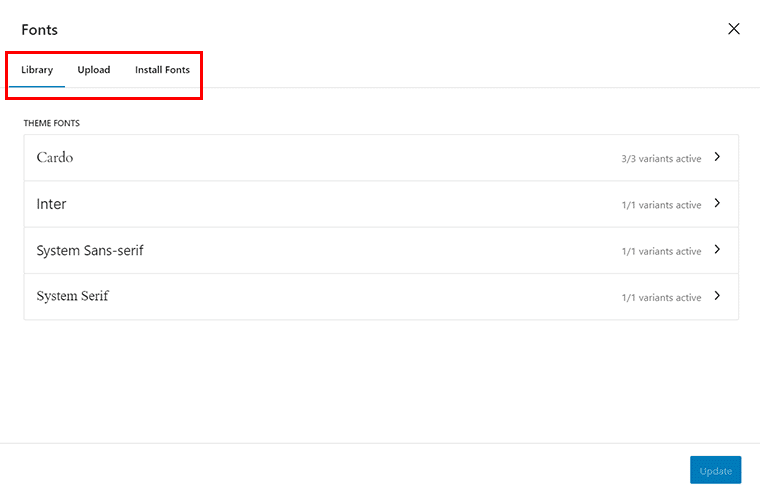
A pop-up window will then appear, presenting you with the font ‘Library’ along with the ‘Upload’ and ‘Install Fonts’ tab.
Step 3: Prefer Google Fonts? Go to the Install Fonts Tab
Now, if you prefer Google Fonts, then all you’ve to do is head toward the ‘Install Fonts’ tab.

And click on the ‘Allow access to Google Fonts’ button.
Now, you can choose among the available Google Fonts or quickly search for one in the search box.
For instance, let’s search ‘Roboto’ and click on the ‘>’ icon of your preferred choice.
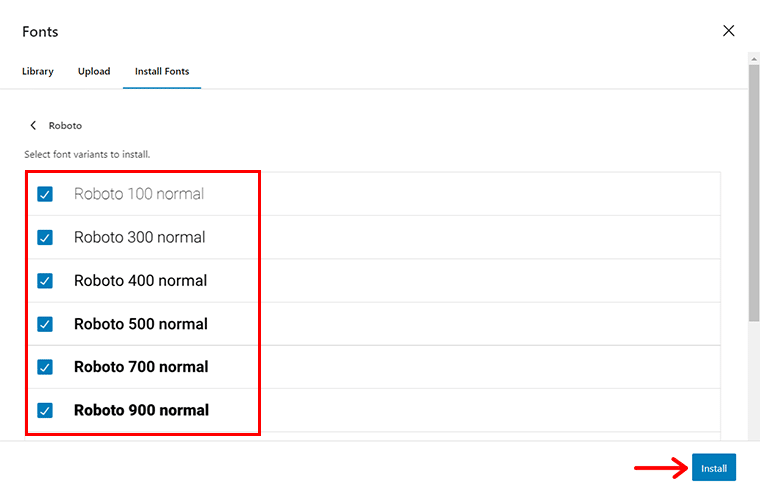
Next, select the font variants as you wish and hit the ‘Install’ button.
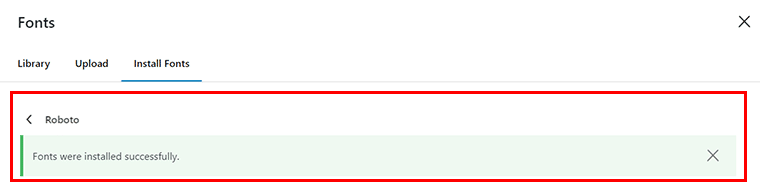
Once done, you’ll see the success notification.
Step 4: Prefer Custom Fonts? Go to the Upload Tab
Likewise, if you prefer custom fonts, then navigate to the ‘Upload’ tab, where you can upload your fonts in .ttf, .wof, and .woff2 format.

For instance, here we’ve uploaded the ‘Proxima Nova’ font in .wof format. Once you’ve uploaded the file, you’ll see the success notification.
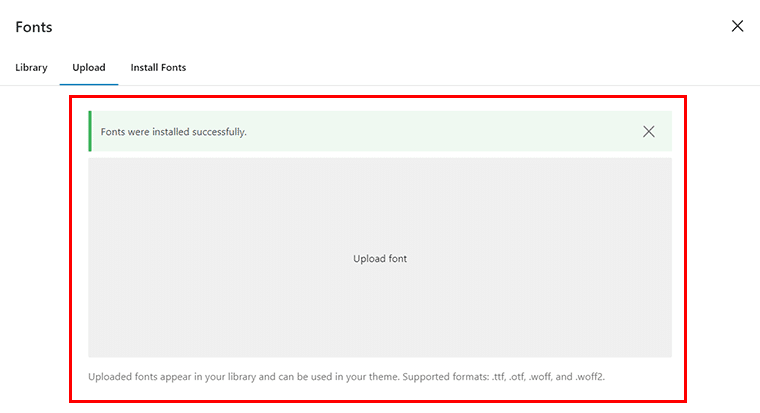
With that, you’ll see that font is added to the font library. And there you’ve got it!
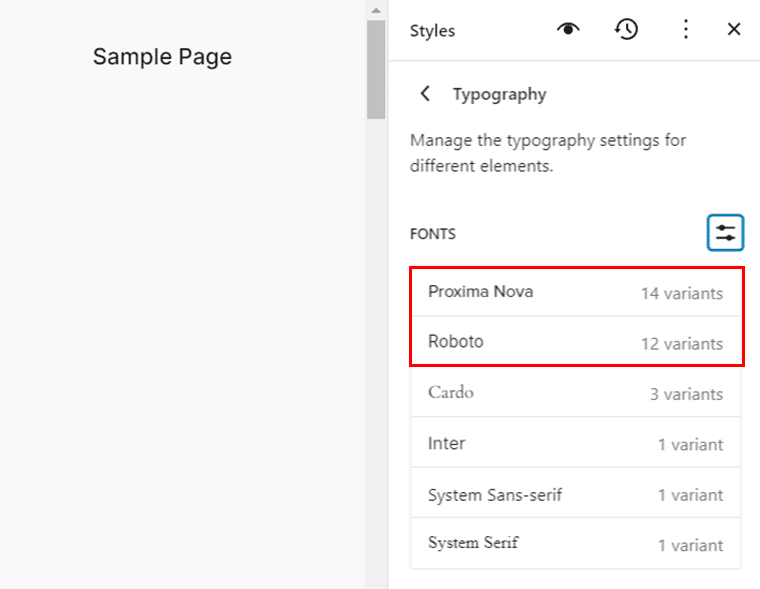
Step 5: Choose Your New Added Font & Save the Changes
Now, how about seeing your newly added font in action?
For that, just scroll a little bit down on the font library, here you’ll see the ‘Elements’ tab. Now, let’s click on the ‘Text’ option.
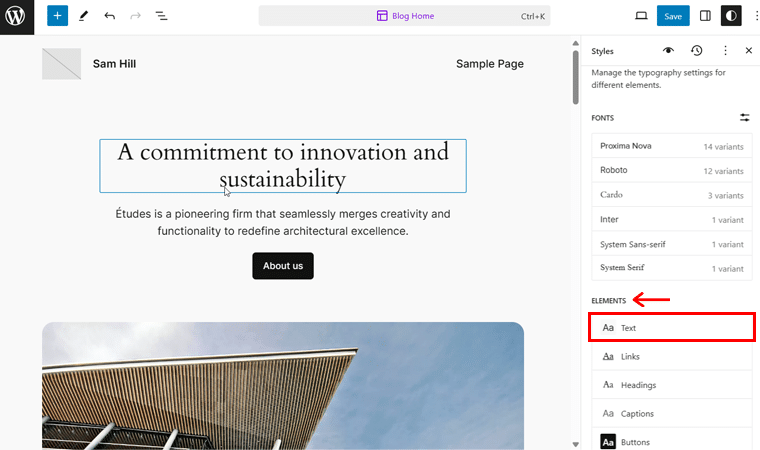
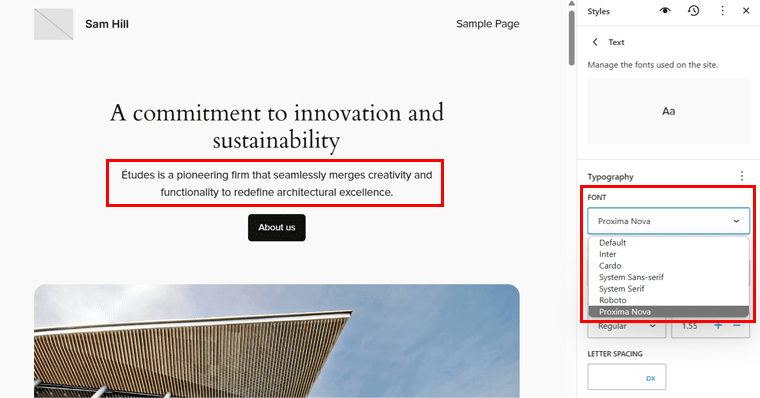
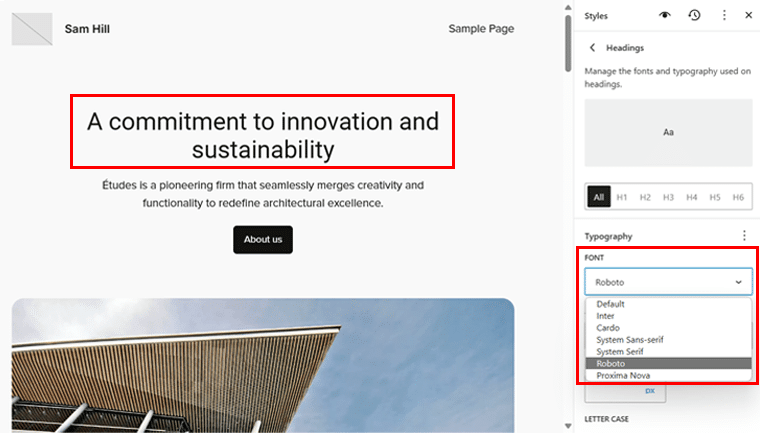
Now, you can choose the font of your choice, for instance, ‘Proxima Nova’. With that, you can instantly see the changes on the right. Along with that, you can also configure font size, appearance, line height, etc.
Likewise, you can set the font typography for ‘Headings’ for instance, ‘Roboto’ , and see the changes on the right.
In the same way, you can choose your newly added font for other elements like ‘Links’, ‘Captions’, and ‘Buttons’.
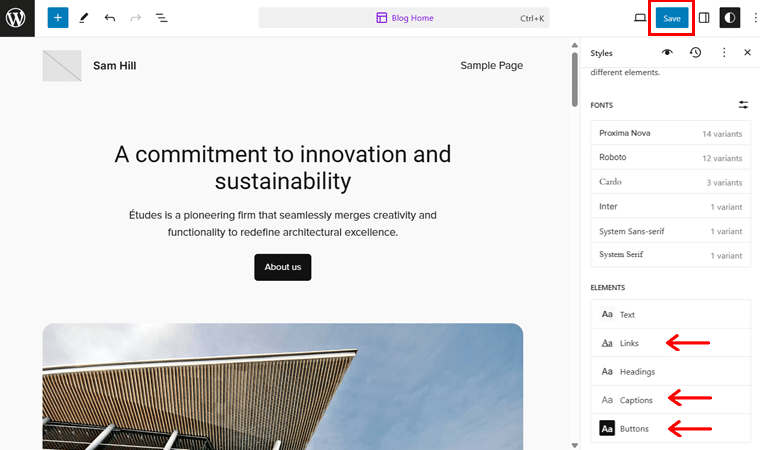
Once done, hit the ‘Save’ button on the top. With that, you’ve your newly added font as the default font for your website. Then, you can have a preview of the chosen font on your website.
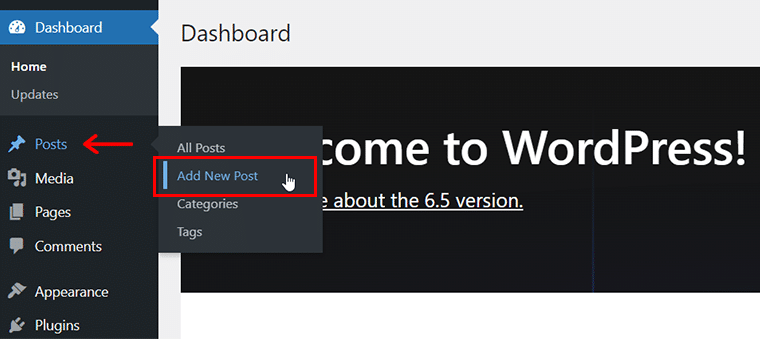
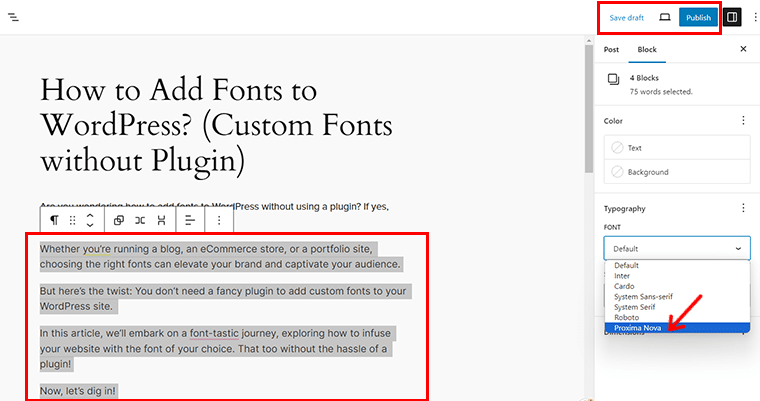
Nevertheless, you can also change the font for the paragraphs of posts and pages. For that, go to the ‘Post > Add New’ and add your content.
Then, click the content where you want to change your typography, and with that, you’ll see the ‘Typography Options’ icon, click on it. Now, click on the ‘Font Family’ tab, and choose the font of your choice.
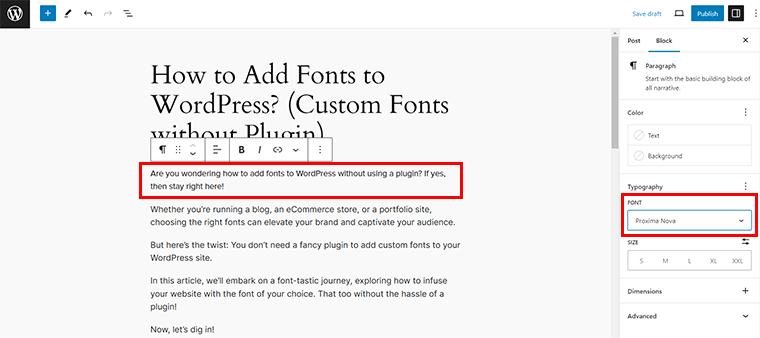
Similarly, you can change the font of other content, and once done hit the ‘Save Draft’ or ‘Publish’ button on the top as you wish.
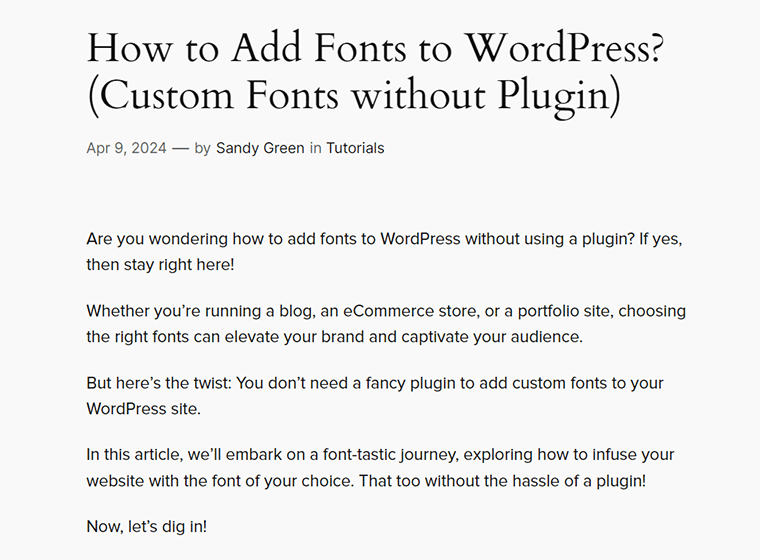
Once all is done, you can have a preview of the chosen font on your website.
Frequently Asked Questions on How to Add Fonts to WordPress Without Plugin
Now, let’s address some frequently asked questions about how to add fonts to WordPress without using a plugin:
Q.1 Do I need to update my WordPress version to add custom fonts without a plugin?
A: Yes, it’s recommended to ensure your WordPress version is 6.5 or above for accessing the latest font-related features.
Q.2 Where can I find the Typography Tab in WordPress to add custom fonts?
A: You can locate the Typography tab under the Styles section within the Appearance menu of your WordPress dashboard.
Q.3 Can I use Google Fonts without installing a plugin on WordPress?
A: Absolutely, you can access Google Fonts directly from the Install Fonts tab under the Typography section without needing a plugin.
Q.4 How do I add custom fonts to WordPress without using a plugin?
A: To add custom fonts, navigate to the Upload tab in the Typography section, where you can upload font files from your computer to your WordPress site.
Q.5 Can I preview custom fonts before applying them to my WordPress site?
A: Yes, WordPress provides a preview option for uploaded fonts. Further, allowing you to see how they appear before making any changes.
Q.6 Do I need coding knowledge to add custom fonts without a plugin on WordPress?
A: You generally don’t need advanced coding skills to upload and apply custom fonts in WordPress. Yet, some familiarity with CSS may be helpful for fine-tuning font styles.
For newcomers, setting up your site might be challenging. Therefore, we recommend reading our step-by-step guide on building a site from scratch here.
Conclusion
And that’s all, folks! We’ve come to the end of our article on how to add fonts to WordPress without using a plugin.
We believe you can now give your WordPress site a typography makeover that you’ve always wanted!
If you need clarification on any step, then do let us know in the comment section below. We’re happy to help you out.
Make sure to check our other reads such as how to add Google Analytics to WordPress and how to do social media marketing for small businesses.
Do share this article with your friends and family wondering how to add fonts to WordPress without using a plugin.
Follow us on social media handles Facebook and Twitter to stay in touch with our content.