Do you want to learn how to install WordPress locally on your computer? Then, you’ve found the right article.
Installing WordPress locally on your computer might be a good idea sometimes. Instead of making your site live, you can just host it on your computer. Doing so, only you can see what the site looks or functions like. And, it’s especially useful for creating a testing environment and for learning processes.
So, we’re here with the easiest guide on how to set up WordPress on a local computer. Here, we’ll take you through the step-by-step process to install WordPress locally using XAMPP.
First, let’s see why it’s important to install WordPress locally.
Why Would You Want to Install WordPress on Localhost?
WordPress is the most popular content management system (CMS) software available on the market today. It lets you easily create a website, blog, or an eCommerce site, and manage your online content with ease.
But it may not be so easy if you’re using WordPress for the first time. Can you afford trial and error on a live website? Maybe not!
But you don’t need to worry! There’s a solution. Installing WordPress on the local server i.e. localhost lets you operate a website within your own computer. The website isn’t visible to other people. So, you can make an experiment with the design components, plugins, setting, etc. there.
Actually, you can develop an entire website on the localhost, and later on, you move it to your hosting account and publish it online. Doing so, you might save some money on the domain and web hosting charges. Opposed to it, developing your site on a live server may take time, which will be costing you money even before your site goes live.
To conclude, installing WordPress on the localhost is greatly helpful for beginners. They can learn to create WordPress websites on their local computer without having to set up hosting.
Also, it’s useful for WordPress developers for testing their products. The products like themes, plugins, add-ons, etc. are tested locally before they’re available on the market for users.
With that said, now let’s check out the process of installing WordPress locally step by step.
Steps to Install WordPress Locally
Now, let’s see the steps of installing WordPress locally on your local computer. Remember that these steps are for the local installation of WordPress specifically on Windows PC.
The steps are the same for other operating systems too. However, there might be some differences in local drive locations.
Step 1: Download and Install XAMPP
First of all, XAMPP is an open-source computer program useful to run different kinds of web applications. For WordPress hosting, it requires the XAMPP components Apache and MySQL. They provide a web development environment for your WordPress site.

Among them, Apache is used for creating a local server environment whereas MySQL is used for creating the website’s database i.e. MySQL database.
So, XAMPP is a very important component for creating a local server to install WordPress on Windows PCs. However, you can also use WAMP as an alternative to Windows. And, you can also use MAMP if you use a Mac system.
Now, to download XAMPP, go to Apache Friends‘ official site. From there, you can choose to download XAMPP for Windows, Linux, or macOS.

After the download is complete, go to the download location on your local drive. Then, open the recently downloaded XAMPP installer .exe file.
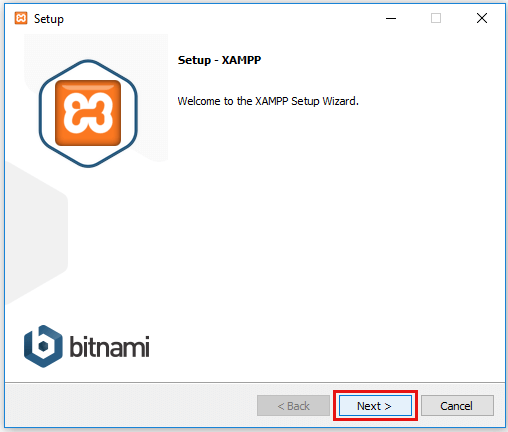
It’ll start the XAMPP installation wizard. Click on Next to continue.
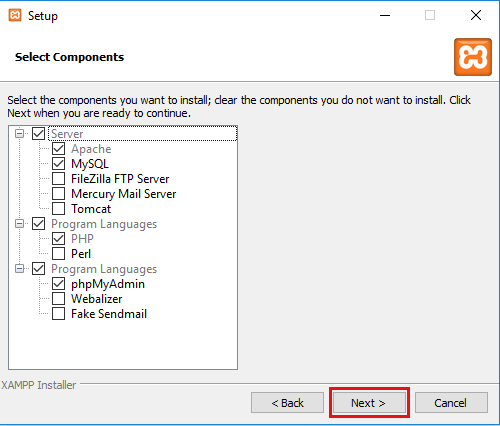
Then, you’ll get to choose the components to install. For WordPress, you just need to tick Apache, MySQL, PHP, and phpMyAdmin. Then, click on next.
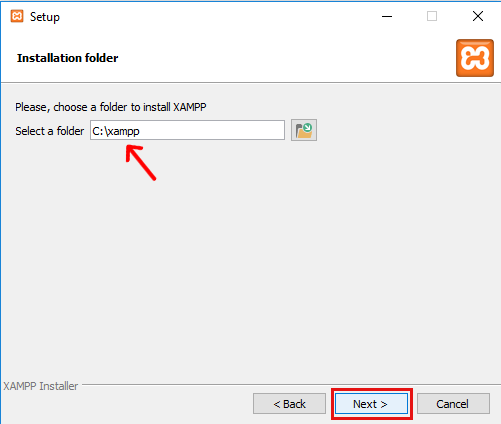
After that, you can choose the folder to install XAMPP. It’s usually ‘C:\xampp’ as default. So, you don’t need to change it. Just click on Next.
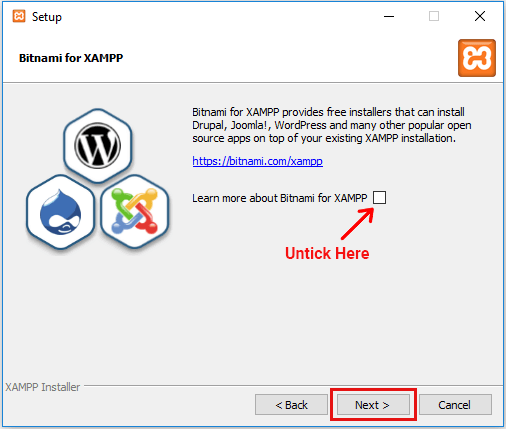
On the next screen, untick ‘Learn more about Bitnami for XAMPP’ to skip installing Bitnami for XAMPP. It’s not required for WordPress websites.
On clicking next, you’ll finally reach the installation screen.
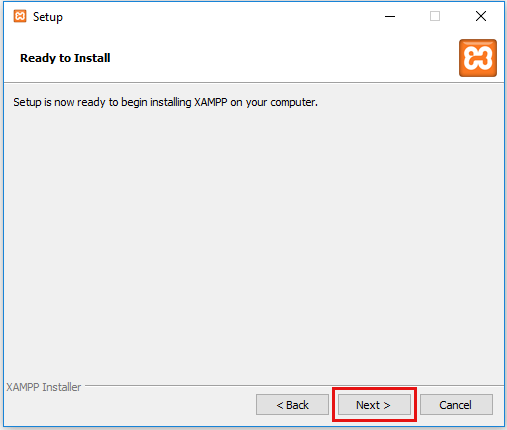
Click on ‘Next’ to start the installation. It takes a few minutes. And after it’s done, click on ‘Finish’.
Step 2: Download WordPress and add it to the local XAMPP Folder
To download the latest version of WordPress, go to WordPress.org i.e. the official website of WordPress. Then, click on ‘Get WordPress’.
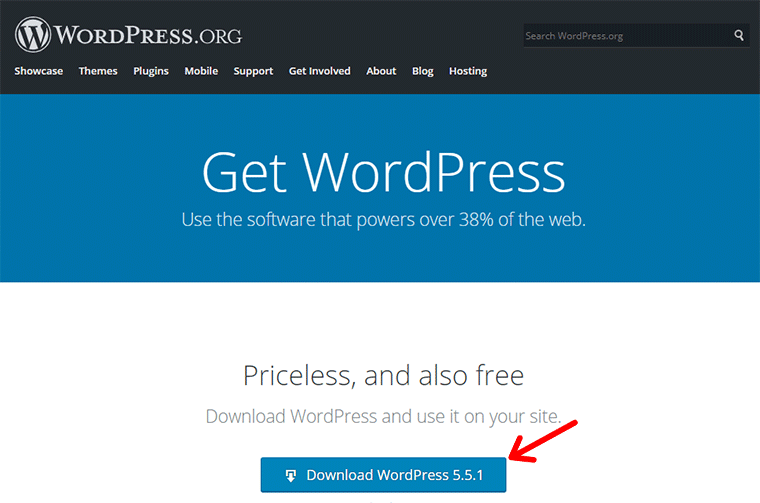
On the next page, click on the ‘Download WordPress’ button. Doing so, the latest version of WordPress will start downloading as a zipped file.
It may take some time depending on your internet speed. In the meantime, you can create a folder where you’ll later keep the WordPress files.
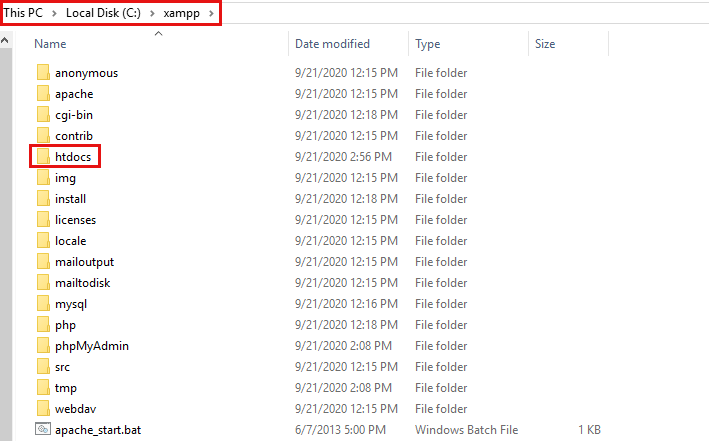
For that, go to the location where XAMPP is installed. That is, ‘C:\xampp’. There, go to the ‘htdocs’ folder.
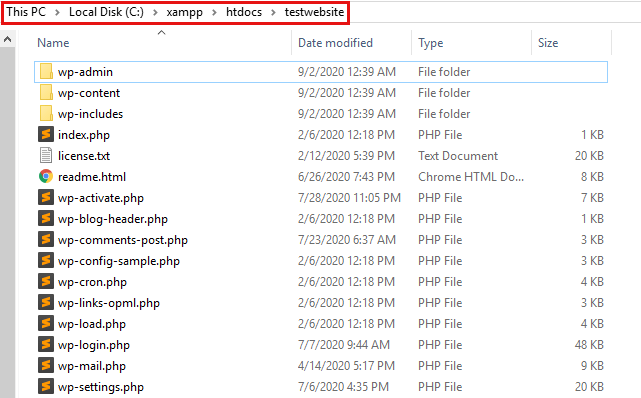
Now, create a new folder inside the htdocs folder and give it a proper name, e.g. testwebsite. Remember that the folder name would be used in your local site’s URL. For example, we’ve named our folder as ‘testwebsite’. So, our local site’s URL is going to ‘localhost/testwebsite’. We’ll use it later.
After making and naming the folder inside htdocs, extract the downloaded zipped file inside there. Doing so, you’ll have a new folder named ‘WordPress’ inside the folder you’ve created (e.g. testwebsite).
Now, copy and paste all files and folders inside the WordPress folder to the folder you’ve created (e.g. testwebsite). So, the location of the WordPress files should look like this:
Another way, you can just extract the WordPress zip file in the htdocs folder. Then, rename the extracted folder i.e. ‘WordPress’ as ‘testwebsite’, or any other name you like.
Step 3: Create a Database for WordPress
The next step is to create a new database for your test WordPress site. It’s for storing your site’s content.
To create a new database, first, you’ll have to go to the phpMyAdmin dashboard. It’s the admin panel that handles your test website’s database.
First, open the XAMPP application from the start menu. If not found, then go to the directory where it’s located. I.e. go to Drive C >> xampp. Then, find and open the file named ‘xampp-control.exe’.
Then, you’ll see the XAMPP Control Panel.
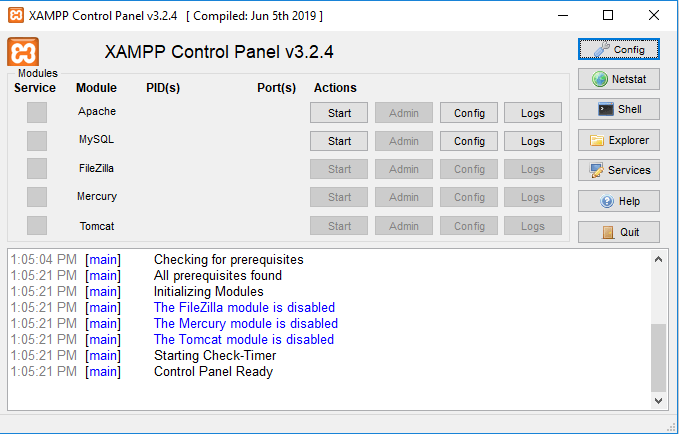
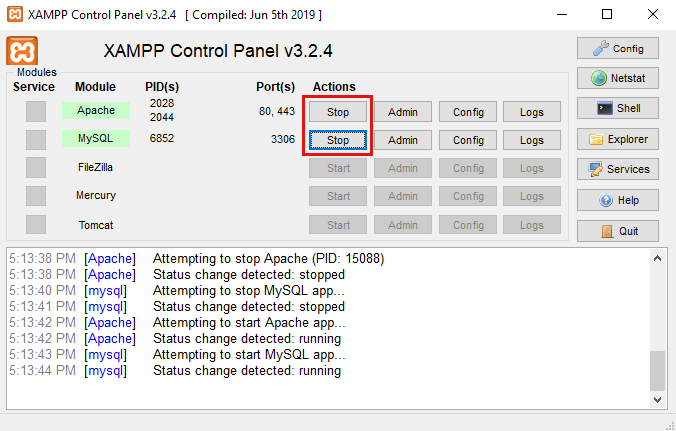
So, you’ll have to first start Apache and MySQL from the XAMPP control panel. Simply click on the ‘Start‘ button for Apache and MySQL. When started, you’ll see a green color highlight for these modules, and ‘Start’ button changed into ‘Stop‘.
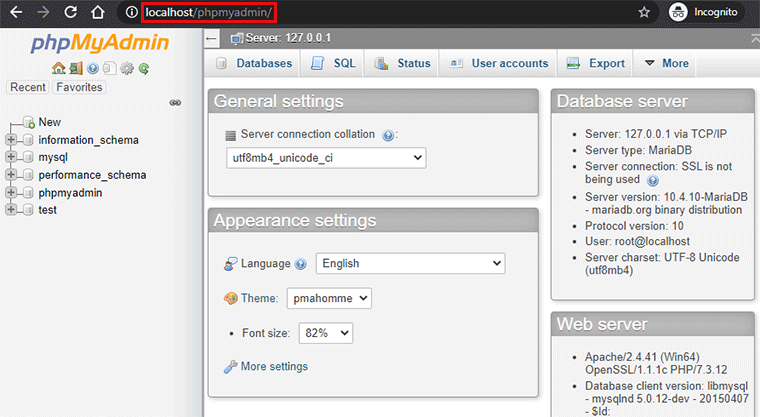
After that, you’ll have to go to the phpMyAdmin page for creating the database. For that, you can click on the ‘Admin‘ button next to the ‘Start’ button of MySQL. Or, you can also go to your web browser and type in localhost/phpmyadmin.
From there, click on Databases. Then, enter a name for the database. You can keep the name as you want. But, make sure that you remember the name. It’s because you’ll need it in the next step.
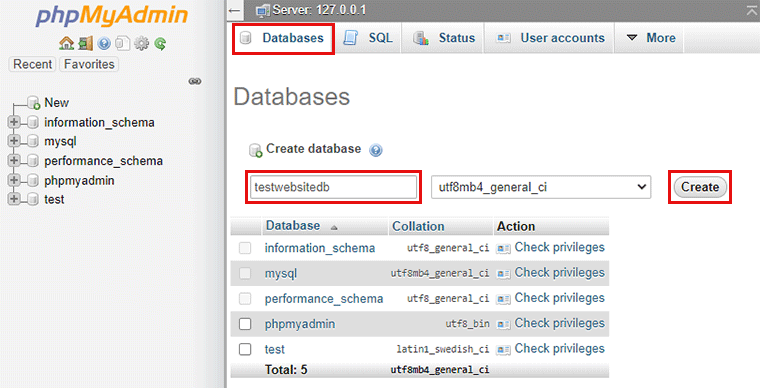
After that, click on the ‘create’ button. Then, your MySQL database will be created and will be ready for use.
Step 4: Install WordPress on XAMPP
Until now, you’ve installed XAMPP, stored WordPress software inside the htdocs folder, and set up the database for your test WordPress website. Now, the next step is to set up your WordPress site on XAMPP.
You can start the set up by going to your site from the browser.
Now, if you remember from step 2, our local WordPress site’s URL would be:
localhost/testwebsite
It’s because we’ve named our WordPress folder as ‘testwebsite’. It’s where we’ve kept our WordPress files.
You might have a different URL depending on what you’ve named your WordPress folder inside the htdocs.
Entering your URL is meant to open your local site. But since your site isn’t set up yet, it’ll start the WordPress installation wizard.
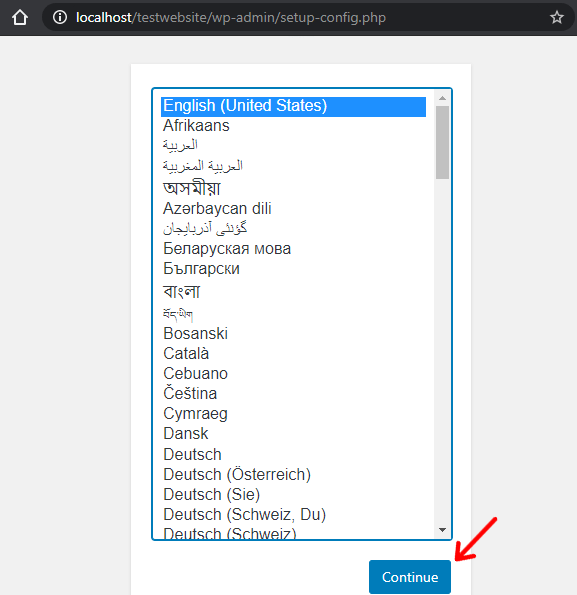
It’ll automatically ask you to select a language when you enter your local site URL. It’s the first step of your WordPress site set up.
Select your preferred language and click on the ‘Continue‘ button.
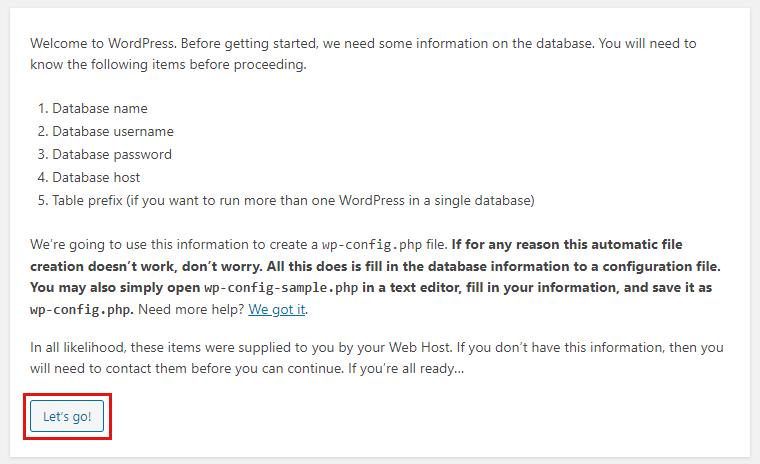
After that, it’ll display a message about the database information it requires. Since we’ve already created the database, we can just click on the ‘Let’s go!’ button.
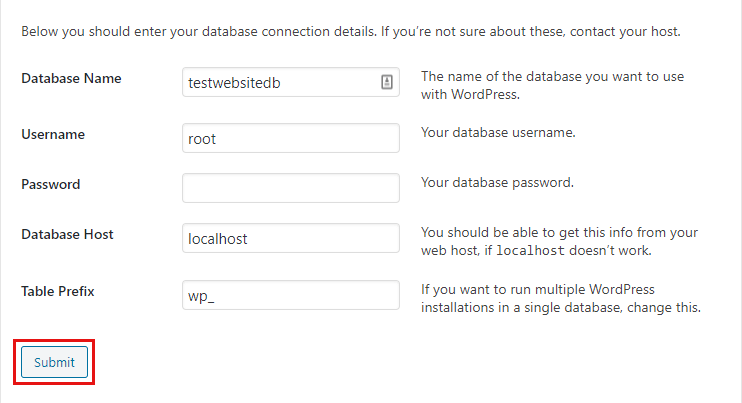
On the next page, you’ll have to enter some database information.
- Database Name: Here, you’ll have to enter the database name that you’ve created earlier in phpMyAdmin.
- Username: Enter username as ‘root’.
- Password: Leave the Password field blank.
Besides, the ‘Database Host’ field is filled with ‘localhost’ as default. You can leave it the same.
After that, click on the ‘Submit‘ button to continue.
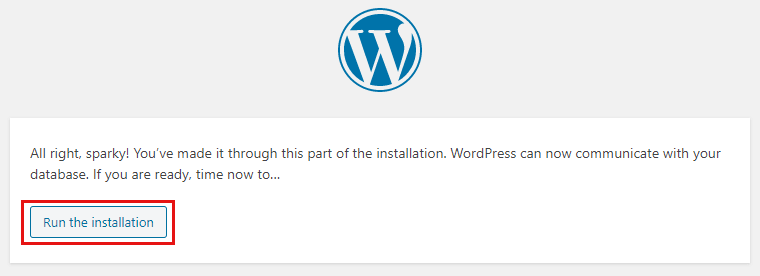
Then, click on the ‘Run the installation‘ button.
In the next step, you’ll come across a page where you’re asked to enter your site information. There you’ll have to enter your site title, username, password, and email address. You can change all the information later from the WordPress settings.
While we recommend you to keep your username and password easy to remember. You’ll need these credentials shortly to login and access the WordPress dashboard. You can also use short, weak for now since it’s only a test site only running on your computer.
Also, you’ll see the ‘Search engine visibility’ checkbox. You can just leave it anyway because you’ll only need it on a live site. If you decide to go live with the same site, you can change it from the settings too. It’ll help your site get more visitors and earn more by optimizing your site for SEO. If you want to know more, then check our detailed guide on ‘What is SEO?’.
After that, click on ‘Install WordPress‘.

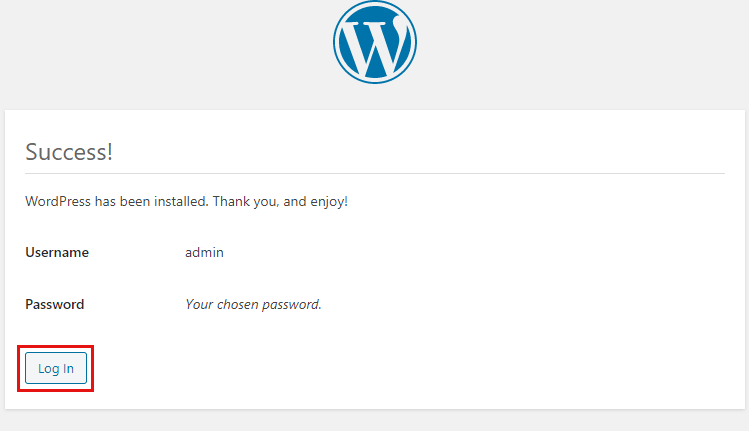
On the next page, you’ll see the success message. There, click on ‘Log In‘. And, you’ll be directed to your WordPress website’s login page.
After successfully going through all these steps, installing WordPress on your local computer is completed.
Step 5: Log in to WordPress Admin Dashboard
Now, to access your WordPress back-end, you’ll have to log in to your admin dashboard. It requires you the username and password you’ve used while entering the site’s information.
Now, you’ll be directed to the login page after you’ve clicked on ‘Log in’ in the previous step
However, the URL to reach your admin area is:
‘Your local website URL’ followed by ‘/wp-login.php’
For example:
localhost/testwebsite/wp-login.php

So, you’ll have to enter your login URL into the web browser’s tab. But before that, always remember to start Apache and MySQL in the XAMPP control panel. This is necessary every time you’ll go to your WordPress admin dashboard.
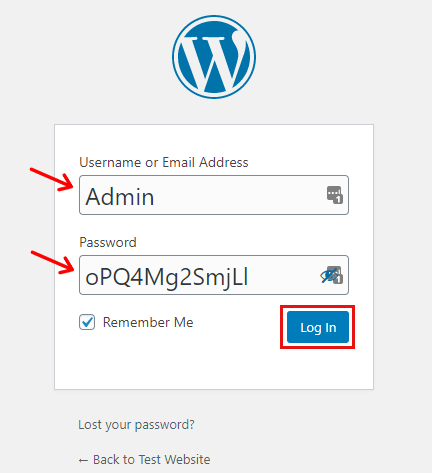
After you reach the login page, you can enter your username and password that you’d set earlier. You can tick the ‘Remember Me’ to have your login credentials auto-filled for the next visits. Then, click on ‘Log In‘.
Finally, you’ll reach your admin dashboard. It looks like this:
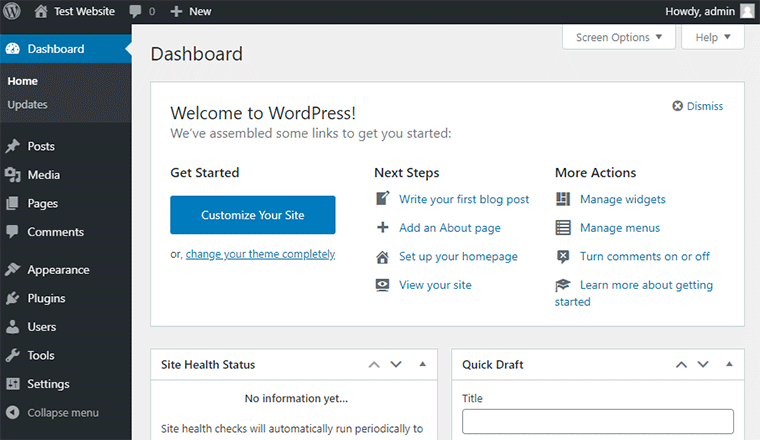
After reaching your dashboard, you’ll see plenty of menus on the left side-bar menu. It’s just like the menus in a live site. So, if you have operated with the live site’s dashboard, then it’s pretty much the same.
If it’s your first time, then let’s learn some things that you can do with your running WordPress site.
What can you do after Installing WordPress Locally?
The first thing you can do after you successfully installed WordPress is to change your site’s theme and customize it. You can go to Appearance > Themes > Add New to select a new theme. There’re tons of these themes there that you can choose, install, customize, and experiment with. Also, you can change the theme again if you’re not happy with the current one.
You can see our pick for the best themes for your WordPress site to choose the best theme for your site.
Similarly, you can install tons of plugins to add features to your site. For that, you can go to Plugins > Add New. To know about the plugins better, read our article on WordPress Plugins.
We’ve also prepared the list of best WordPress plugins. You can use them on your local site to see how they function.
And, if you’re interested in creating a blog, then you can learn easily with WordPress. With WordPress, you’ll have many advanced blogging features like easy block editing, scheduling posts, multiple authors, SEO, social share, media embedding, etc.
Moreover, you can use it to create various niches of websites like eCommerce, portfolio, news, forum, membership, etc.
The plugins give your WordPress site power to create any type of website. While the themes make it possible to design your site as you like.
That’s one reason why WordPress is ahead of its competitors with a huge difference. Besides, its open-source and free model makes it more usable for types of users.
That’s why it’s also important to learn to use WordPress if you’re interested in website technologies. Also, you can learn to use WordPress for your own site too.
Conclusion
That’s it. We hope that now you understand how to install WordPress locally using XAMPP. Also, we hope that you can install it on your own local computer with this stepwise guide.
If you have any confusion about creating your own local site with XAMPP, then please comment below. We’ll get back to you very soon.
We also have a detailed article on ‘How to Make a Website‘. So, you can check it for more details on creating a live site with WordPress.
At last, don’t forget to follow us on Facebook and Twitter for updates.